Quick!
Got two minutes?
Grab on to the side of a bed, chair or lean back against a wall…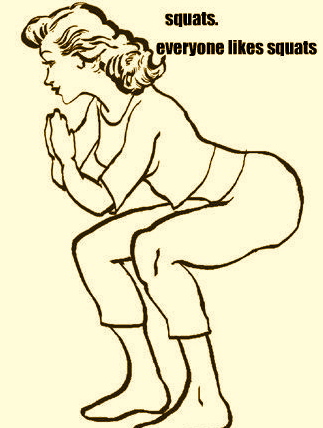
Do 30 squats!
I just did them and they give you a burst of energy when you hit the after lunch yawns!
Gracias Mushpa for the tip!
: )
-Mensa
Quick!
Got two minutes?
Grab on to the side of a bed, chair or lean back against a wall…
Do 30 squats!
I just did them and they give you a burst of energy when you hit the after lunch yawns!
Gracias Mushpa for the tip!
: )
-Mensa
We made our own all purpose house cleaner with 3 ingredients we have at home. It will save us some $$$ and it is super environmentally conscious, AND its as easy and cheesy as 1, 2, 3!
One:
Dont throw away your old cleaner’s spray bottle!
Keep it, and fill it half way with white vinegar.
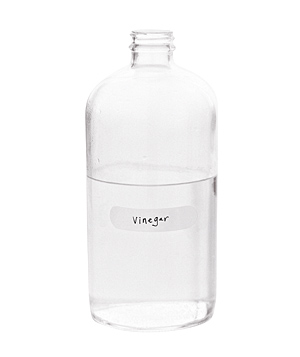
TWO:
Fill the rest of the bottle with all-natural tap water! ; )

THREE:
Add about 5-10 drops of essential oil. We used peppermint because it smells oh-so-fresh, but you can do anything from lavender to patchouli!

THAT’S IT!
You can use this anywhere and everywhere, and according to The New Homemaker there is dozens of combinations that you can use vinegar with to clean everything from your laundry to removing stains and odors!
So why bother buying “green” cleaners when we can make them at home!?
So do it now!
love,
-Mensa
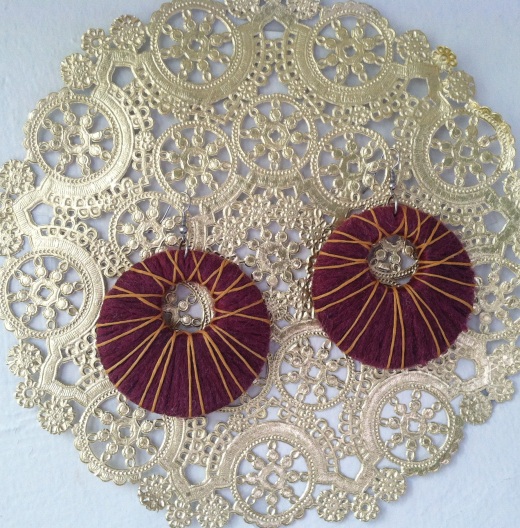
Check out our new creation!
We are bringing the hoop back…

Made from yarn, wooden hoops and hemp.
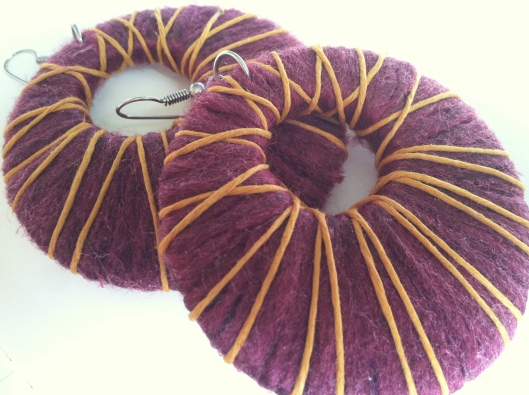
Soon to be at our Etsy store!
: )
-Mensa
Feliz cumpleaños Micaca y Isabela!!!
This birthday cake is dedicated to my crazy cool sister who turned the double douces a week ago…An easy to make fondant added a little color to this delicious chocolate cake, and who doesn’t love fondant? You can really make anything you want with it because its almost like play-dough!
The fondant was ridiculously easy to make, and because of the hype with the marshmallow-fondant recipe, I got caught up in the moment and used ingredients that were not so wholesome for our health. So sorry hermana!

So the ingredients I used?
Marshmallows= High Fructose Corn Syrup and who knows what bits and pieces of chicken parts…
Powdered Sugar= I didn’t use any organic or unbleached product…my bad.
Food Coloring= Need I say more?
So here’s the deal. I did a little research and Organic Marshmallow Fondant IS possible.
I found a couple of recipes, yet each of them always had something “off”. So i combined all my research and I think it will be as easy to make an organic fondant recipe without the extra hassle.
So here’s the recipe…
8 oz of mini VEGAN marshmallows (about 4 full cups). They do exist!
1 tbsp of water
1 pound bag of Wholesome Organic Icing Sugar..plus a little bit more for when things get sticky!
1 tbsp of Organic Light corn syrup
1 tbsp of lemon juice
Natural Food Coloring
Organic Butter
* For the Food Coloring there are MANY options. You can buy organic and natural good coloring like Maggie’s Naturals which are made of all natural plant based sources. Your local natural food store should carry some. If you want to experiment and make your own colors you can virtually achieve any of them with any product at the store. Red? Use some beets! Orange? Carrots! Yellow? Tumeric or saffron flowers. Green? You can use spinach or even buy a natural food supplement called liquid chlorophyll. Blues and Purples? Cabbage anyone? Its doable! You might just have to experiment with the recipe.

The HOW TO:
Add the water to the marshmallows. It usually calls for a minute in the microwave. Skip this step and the extra radiation and heat it the old school way. I will update this recipe when I try it in the oven, but I would start by testing it at 300 degrees for about 10 minutes in a bowl.
Use a WOODEN SPOON covered with butter. This will make the marshmallows stick less to everything and will make it easier to mix. Make sure all the clumps are gone until you have a pretty smooth marshmallow mixture, and add the corn syrup and the lemon. The corn syrup helps make it a bit more flexible so it does not crack and dry so fast, while the lemon reduces the intense sweetness it has.
Start adding the icing sugar bit by bit, and continue mixing it well into the marshmallow mix. Slowly it will start to clump up and it will become hard to keep going further with the spoon. Once you have gone through 3/4 of the sugar, you can transfer the mix to a clean surface and use your hands.
Knead and keep adding the powdered sugar until you have a smooth and malleable dough. If it’s too sticky add a bit of sugar, if it’s too dry then splash water into your hands and knead again.
To prevent it from sticking to the table and the rolling pin, I greased the surfaces with a bit of butter which made things much easier.

I made some flowers and leaves. Pretty easy! For the leaves I just cut two different shapes and with a toothpick added the lines. For the flowers I used a long flat triangle and started to curl it up from the smallest end. The colors look extremely bright, because they are extremely fake.
So now that I have the recipe and sources, I will make a second attempt to live to what I preach, and make a HEALTHIER and more CONSCIOUS birthday cake, with beautiful organic and natural colors!

Today I went to the Muscarelle Museum of Art at the College of William and Mary, and in honor of the museum’s thirtieth anniversary they held an exhibit titled Michelangelo: Sacred and Profane, Masterpiece Drawings from the Casa Buonarroti.
My whole family went, including a crew of three kids under the age of 9 (I’m sure the museum staff loved us with our loud selves, and our “find the heads in the painting!” games).
The exhibit was a collection of twenty-five Michelangelo drawings. Many of them were sketches of architectural designs, including a plan for the Pichola Libreria of the Laurentian Library and a plan for the Church of San Giovanni dei Fiorentini in Rome.
Other drawings included the iconic Madonna and Child. Like many of his renderings, the female figures are as toned as can be, most likely because many of the times he used male models to draw from life.

“The Christ Child is as robustly muscled and smoothly polished as a piece of sculputre, the artist’s hand made invisible by infinitesimal overlapping touches. The sculptural quality of the Child recalls the perfect beauty of cassical statuary and the Child’s divinity, which is contrasted with the Madonna’s unfinished form.”
What made me the most curious about this drawing was how the paper through out had changed tones to a light brown, but the Child’s highlights were still brilliant and intact. The highlights, after 500 years were still highlighting where the light was coming from and were brighter than the paper itself!
My favorite out of all the drawings, which automatically were narrowed down to a handful mainly because buildings and architecture do not move me at all (unless they have human figures sculpted on them!), was the drawing of Cleopatra given as a gift for Tommaso de’Cavalieri, a young nobleman. A couple of reasons why she was my favorite piece in the exhibition…

First of all she is beautiful. Plain and simple. You could feel those curls curling up and twisting behind her head. You could see her gaze looking down, and the skin in her forehead pushed up making her seem like she is just in anguish, like she knows what her fate is and the snake around her breasts and shoulders only confirms it.
The amazing thing about this drawing is that it wasn’t until twenty-five years ago that after being studied and closely observed, scholars discovered that there was a paper backing that covered the back of the drawing. This revealed a second drawing! This one was of the same Cleopatra yet this time, her look and her facial expression was a more clear reflection of how Michelangelo maybe really wanted to portray anguish and desperation. I wonder what made him change his mind? And I wonder why he covered it with another piece of paper instead of using a new one, and still gave it as a gift?! What was his tricky mind up to?…

Regardless, it was a great exhibition. The best part of it though was when my little soon-to-be-nine-year-old sister says to me “Hey Memi, did you know it was Michelangelo’s birthday today?!?” What? No I did not!
Coincidence? Probably not : )
Happy Birthday Michelangelo!
-Mensa
I must admit. I need to be better about taking care of our house plants. So today I got serious! I decided to re-pot them, mix the soil around, add new soil and a little home-made plant food.
The How To’s:
1.Making the Plant Food:
Since we recently started composting, I figured that instead of buying any plant food from the store, I had to put our compost to good use.

In a blender I added some coffee grinds, a couple of eggshells, and some compost (which included apple cores, carrot peels and other goodies). I added a healthy amount of water and blended it.
A word about plant food:
Many home made recipes call for a mixture of Epson Salts, baking powder, regular salt, and household ammonia. Whatever rocks your boat. Personally, adding ammonia, which is considered to be a toxic substance, to anything seems a little crazy to me. Its a natural and organic compound produced and used for growth of many plants, but having a jug of ammonia in the house does not seem like the best and most eco-friendly solution. (If it gets in our water ways it can be extremely harmful). So sticking with all-natural, non-toxic, home-made plant food seems like a better solution to me.

2. Mixing the soil
I took old soil from plants that had died due to extreme heat in our kitchen (whoops) and mixed it with new soil in a bucket. I tossed it and added a bit of the juicy plant food (mostly the water part) to moisten the soil. I added more water to the mix in order to have the soil thoroughly moist.
3. Re-potting your plants
***The most important thing I did through out this whole process was talking to my plants! Call me crazy, but I really felt like they needed to know what was going on. Imagine being pulled out of your warm comfy home and abruptly placed in a new pot! So as I did this I explained the process, was really gentle, made them feel more at ease, and made ME feel like I knew what I was doing (even though it was my first real re-potting experience!)…So it helped us all : )
-Start by having everything ready and clean. I made a mess, so cleaning as you go is definitely recommended.
– Prep your flower pot with a little dirt at the bottom. If there is a hole you can cover it using a shard of an old broken pot making sure you don’t cover the hole completely. Add a bit of the plant food that you have prepared.

-I took my first plant and flipped it gently until it loosened and came out of its pot. I dug a little around the edges and it helped to get it out. I untangled the roots a bit and watered them slightly and placed it on the pot.
-I covered and filled the pot with dirt and half way through I added a bit more of the plant food. Then I covered it completely, making sure I stayed at least half an inch from the rim (if not when you water it, it can overflow).
-Use a spray to clean the leaves of your plants if they have dirt on them, so they can breathe!
Tell your plants that they are awesome and that this is for their own good even if they hate you… ; ) Sun, water and love will make their day!
Now they will grow stronger than ever and produce beautiful blooms and strong green leaves!
-Mensa
A little lace, a little paint, a little yarn, and a gross amount of ❤❤❤.

Hey Mushpa! Here is the frame I promised you : )

Ewww!

-Mensa
Sunday morning I cleaned my kitchen and realized I had a can of garbanzo beans in the pantry…So what can I make? Well what else but HUMMUS!
I looked up a couple of recipes and realized that one of the main ingredients, tahini (sesame paste), was not in my pantry…
So I IMPROVISED! And it turned out better than delicious!
This is an easy recipe for a home-made hummus. I usually eat it with carrots, sugar snap peas and crunchy anything. The combination is the best!

Here it is:
-1 can of garbanzo beans
-1 lemon for its tangy juice (use less depending on your liking…I ❤ lemons!)
-salty salt (about a teaspoon or more also depending on your tastebuds)
– Olive Oil
– a little cumin
-1 tablespoon or so of pine nuts (These replaced the sesame seeds/tahini)
-1 clove of garlic
Add garbanzo beans (making sure you drain all the extra water from the can), about a teaspoon of salt, a good two tablespoons of olive oil, the garlic, a couple of “shakes” of cumin, and the pine nuts all in a food processor. You can also use a blender of course, as long as you blend it to a smooth consistency. I eye-balled the recipe, so amounts are about what I think I put in. A little more, a little less will only make it YOUR hummus recipe :]

I tasted it and thought it needed a bit more olive oil, so as it blended I poured a bit more in to give it texture. I transferred it to my own tub and now I have hummus for the week!
And it only took about 10 minutes!
First time hummus making…a delicious SUCCESS!
-Mensa
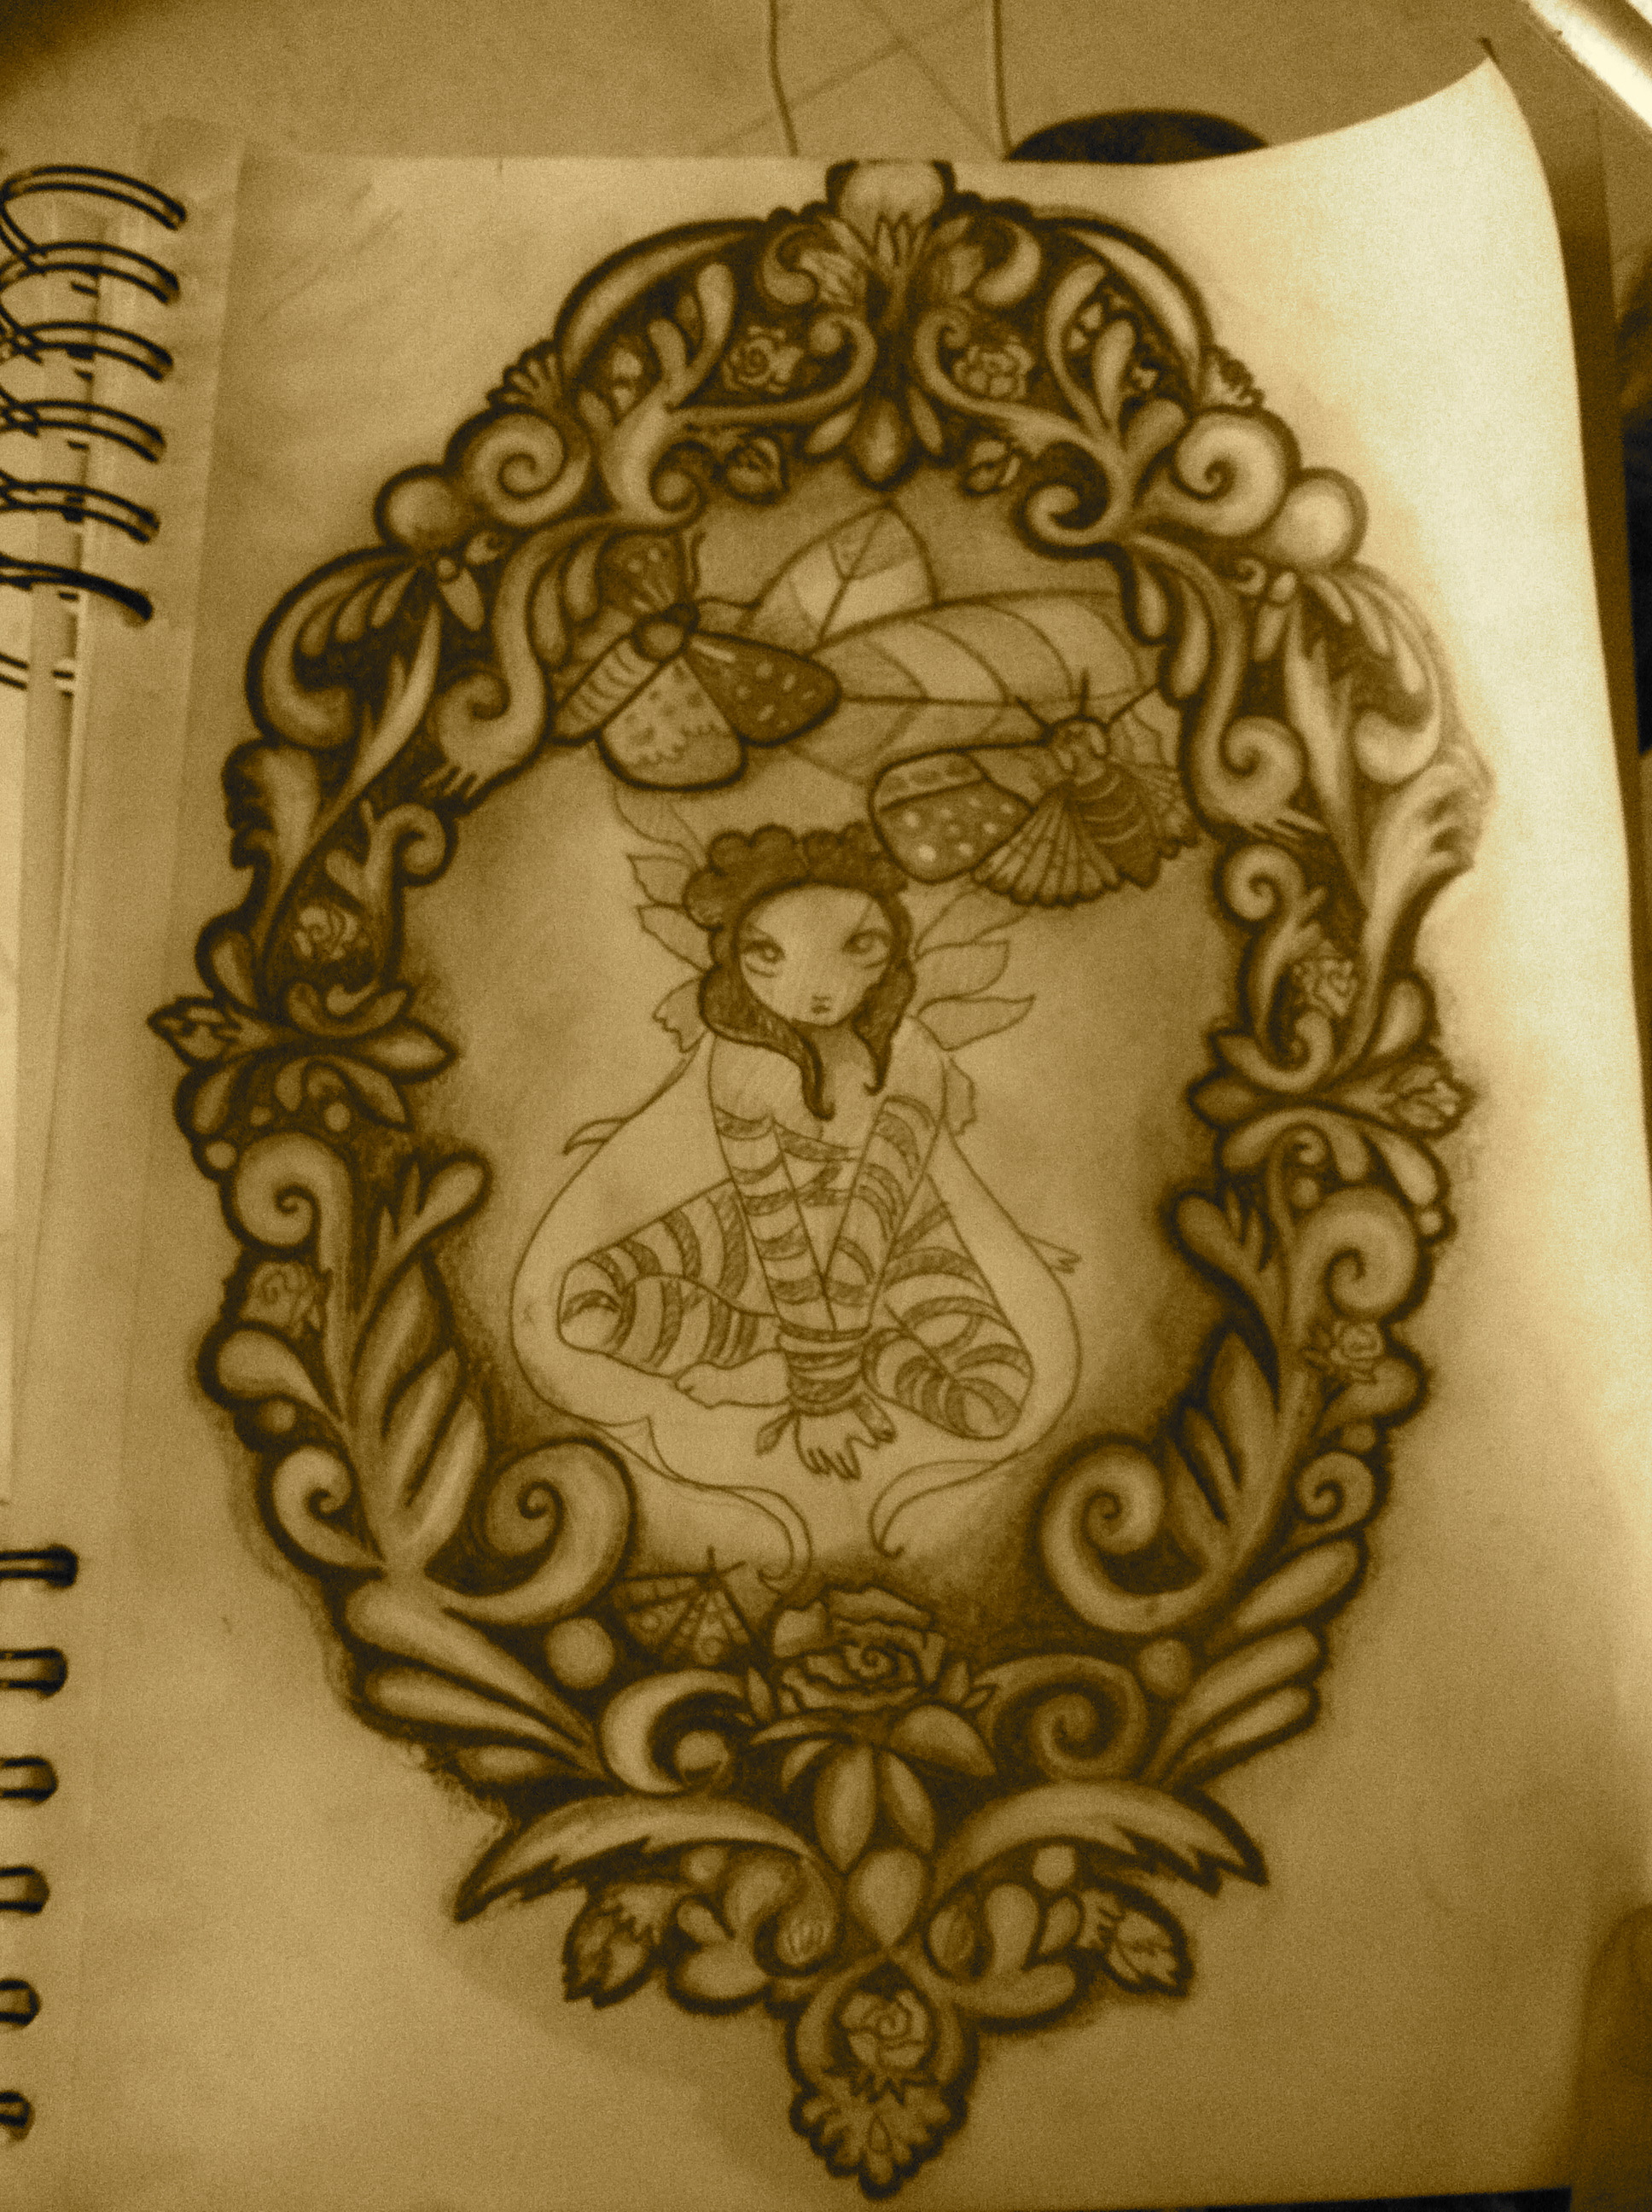
Things are done better, with more love, and more rewards if you at least try to do them yourself (as opposed to having something pre-made). So why not design your own tattoo?!
So for Mushpa’s birthday, one of the things she asked was to design something to compliment the tattoo she already has.

Here are a couple of sketches of the soon-to-be-tattoo!
Why not draw something that only you imagine in your head? It is a fun process, and you get to have more of a say in every detail possible, and it is only yours!
Want some art in your body? Do it yourself! (Starting at least with the design part of it all! We can move to tattooing later…)
: D
Keep on making,
-Mensa
So we can recycle paper, plastic, aluminum and many other miscellaneous items, but how about recycling art supplies?
Did you know that more than 12 MILLION CRAYONS (which equals to about 120,000 pounds) are made in the US EVERY DAY?…that’s about 60 TONS of crayons made EVERY DAY! And crayons are made with petroleum based wax which end up in our landfills…How Eco is that? Not so much…
This really cool program called Crazy Crayons, takes all your old broken, unused and un-loved crayons from your schools, homes and studios and revamps them into 100% RECYCLED CRAYONS!
They also sell Fire Starters, perfect for lighting up your campfire or fire place with ease. This is another way they recycle and reuse ALL of the crayons, by using the wax covered crayon wrapers. Simply place a handful on top of wood or your fire pit and BOOM! Warmth that comes from a recycled source!

If you want to participate in the program make sure to check out their site where they give you all the details on how to prep your soon-to-be-recylced crayons, ideas for collecting unwanted crayons, and directions on how to best ship your old crayons!
———————- o ———————–
Two MINI DIY PROJECTS:
1.Make Some Funky Crayons
-Take all your old crayons from around your house
-Peel them and break them into small little pieces and put them in an old cookie mold
-Preheat oven to 250 degrees and bake for about 15-20 minutes until they have all melted.
-Patiently wait until they have cooled…Pop them out, and start a new coloring adventure!

2. Melt some Crayons into Wall Art
-Take a blank canvas or a slab of old wood and align peeled crayons on top of canvass
-Glue them down with either a hot glue gun or strong all purpose glue and wait until they dry
-Take a blow dryer and hold over crayons until they begin to melt…and HAVE FUN! It might take a minute for the full effect to take place and for all crayons to melt, but it is a relaxing and easy project that can add a little color to any wall! :]

Keep on coloring!
❤
-Mensa