All posts by Maria Emilia

Mushpa y Mensa’s Project Clean House 2014


mushpa y mensas clean hosue project 2014

I begin this year starting fresh with my posts, as I know that in December I was not keeping up with my partner in crime Mushpa’s amazing word press posting skills and motivation.

Here I will start by telling you that it was necessary for us to start the new year with an amazingly clean and organized home. For the past few days Mushpa y Mensa have re-energized our apartment, thrown out unnecessary trash, given away unused items, and said good bye to old memories, to make space for the journeys of the new year!

———————————————–

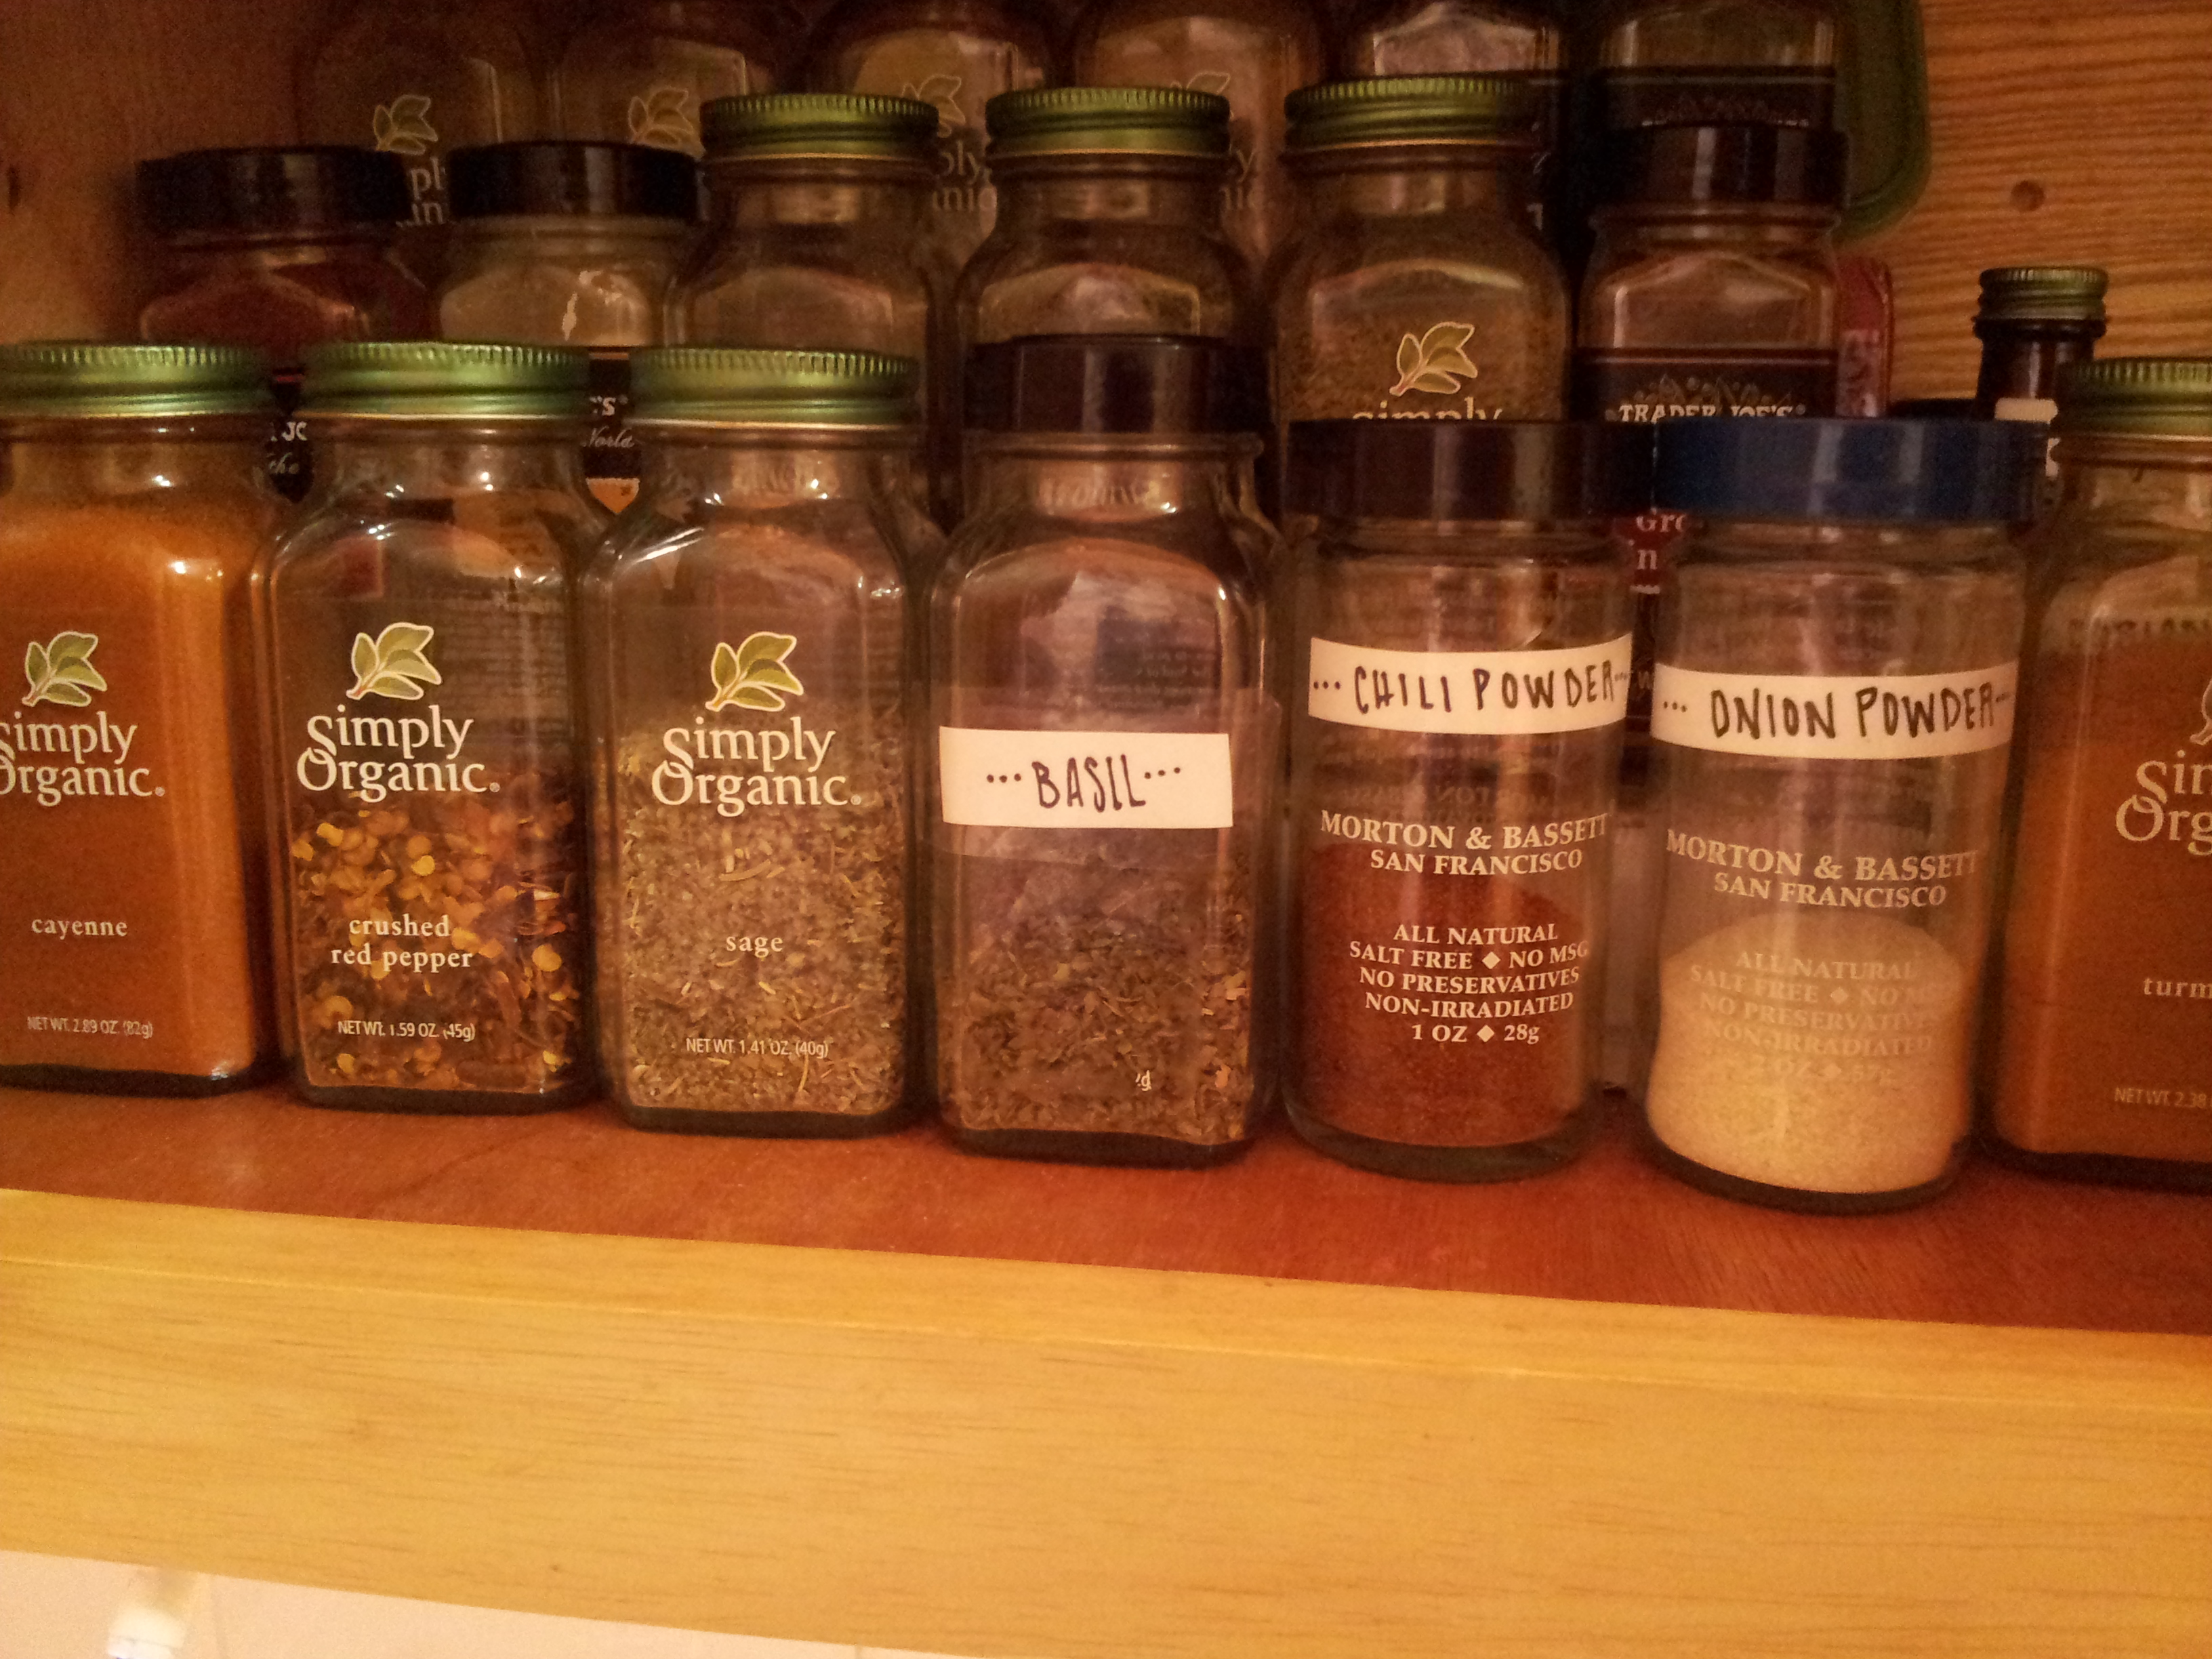
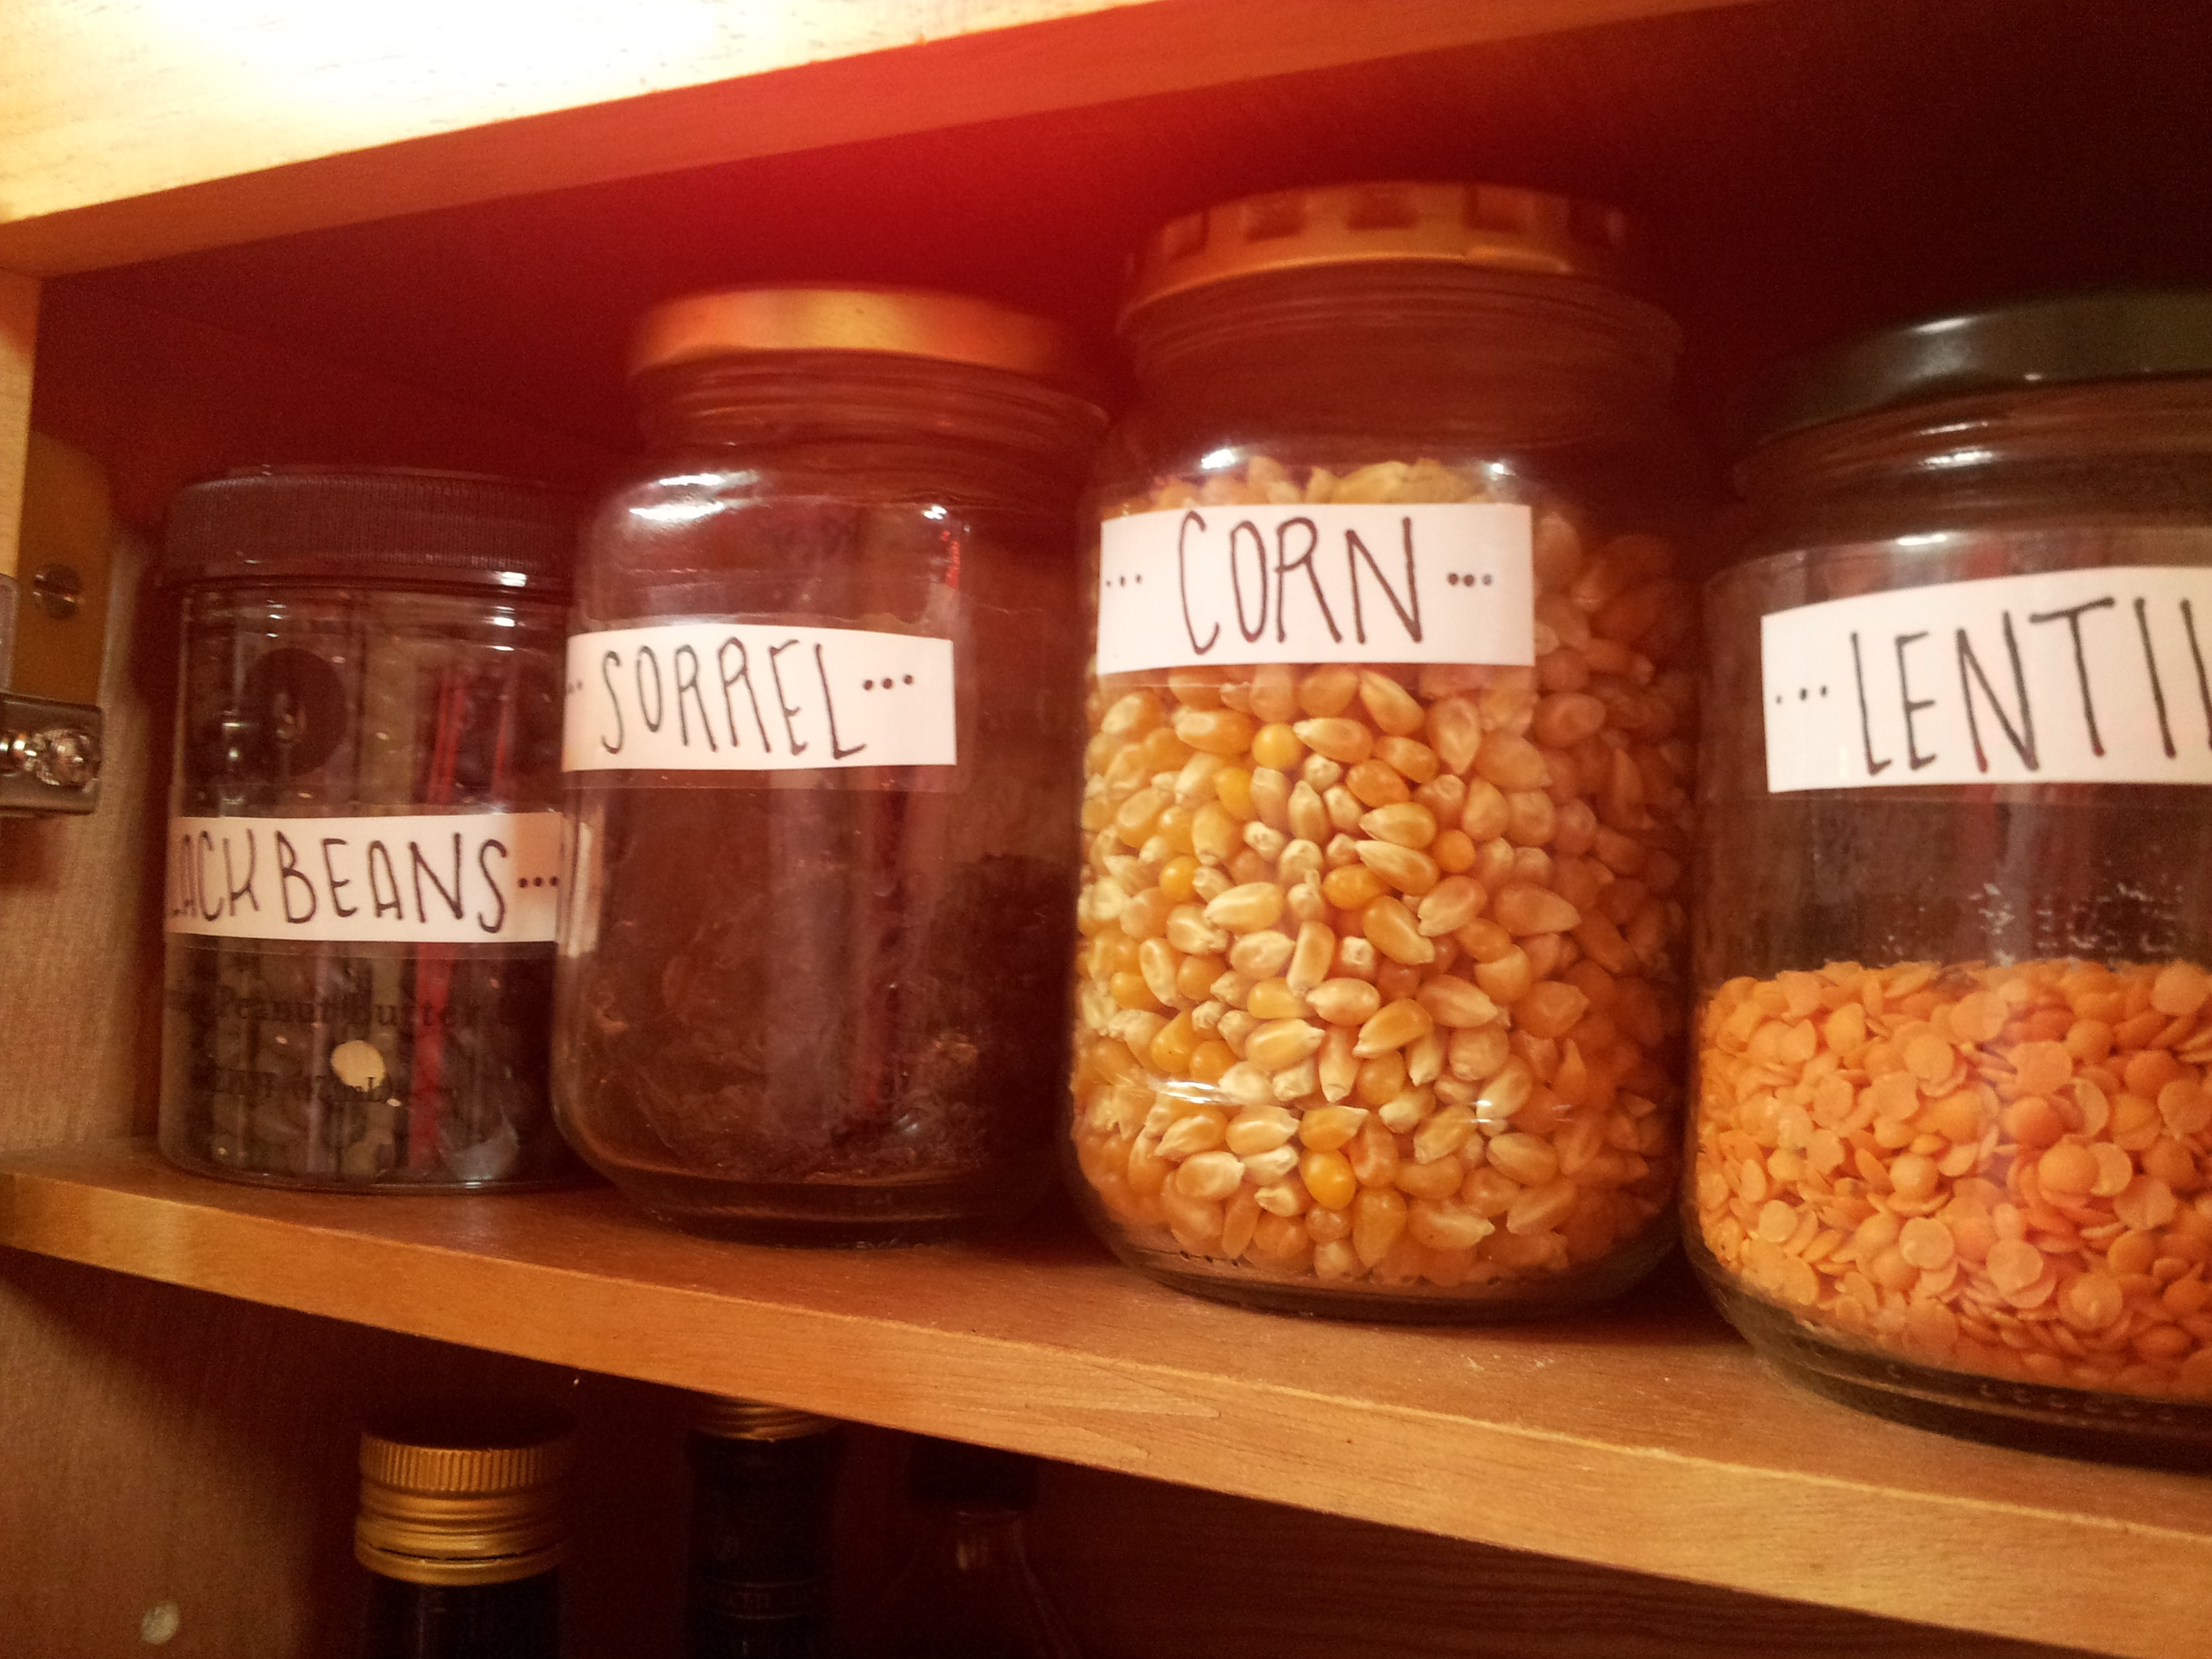
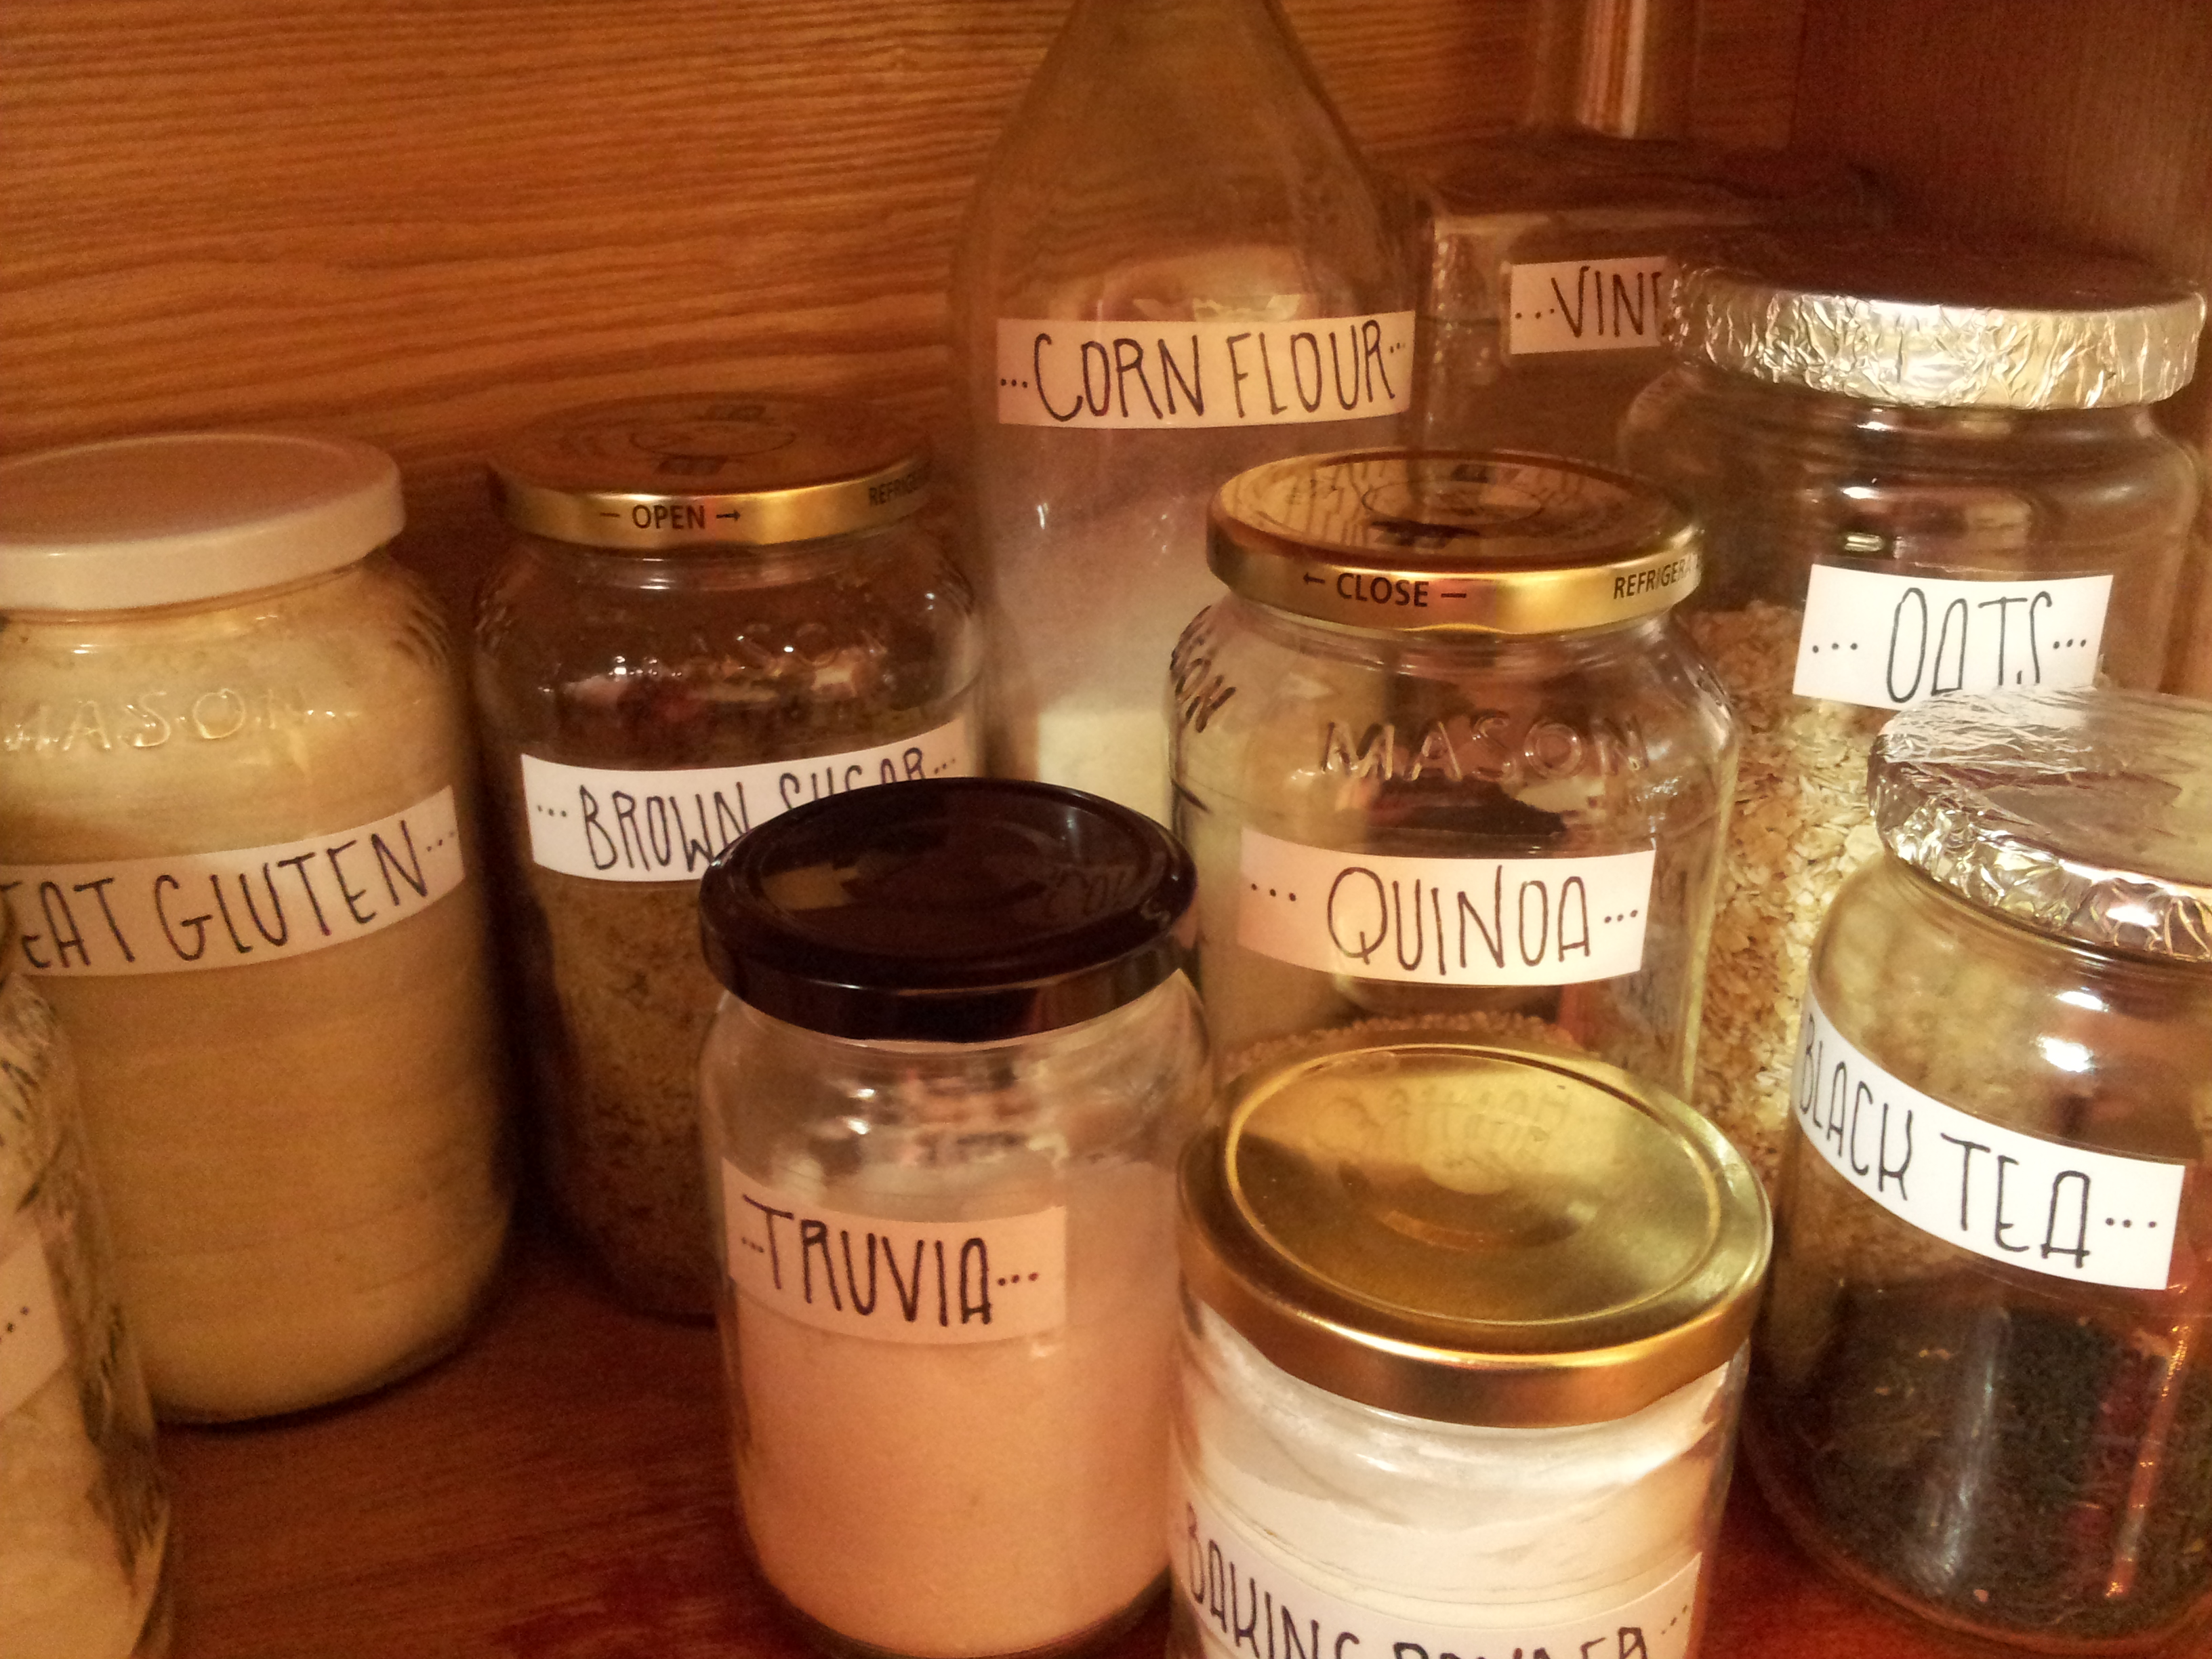
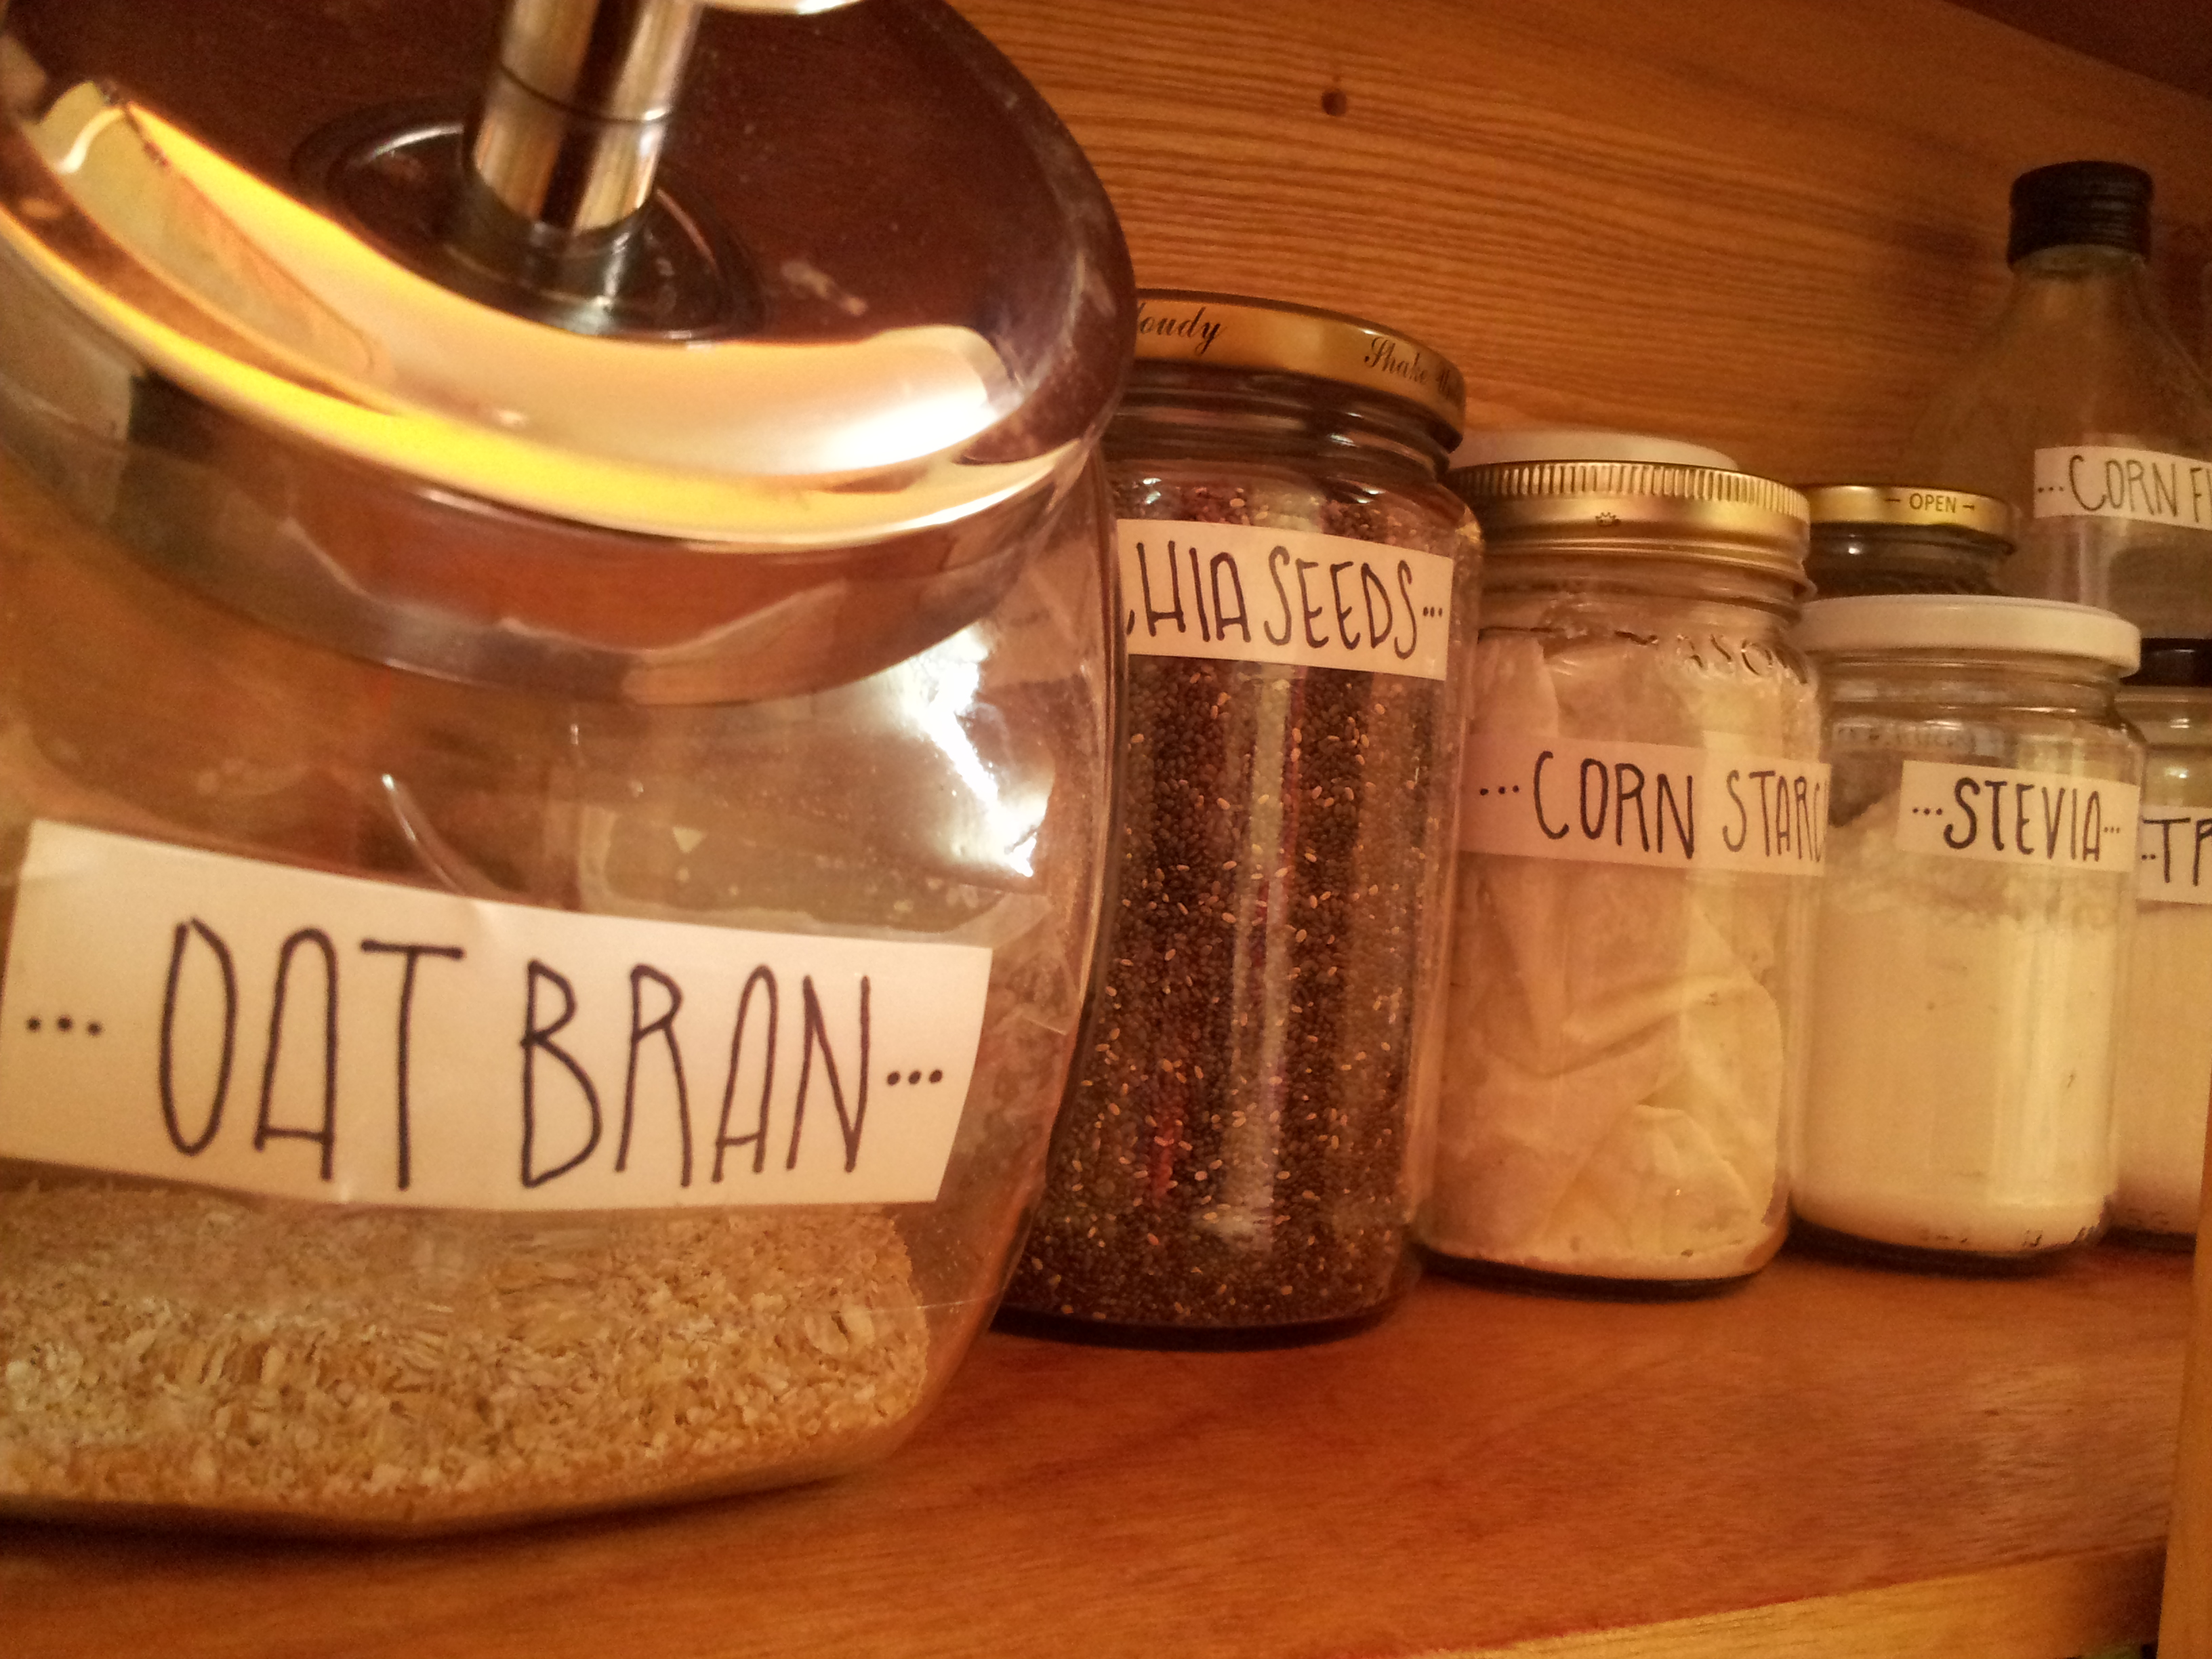
My favorite project so far has been re-organizing the kitchen cabinets. We used old jars of pasta sauces and pickles, and  we cleaned them and re-labeled them in order to super organize everything from baking soda and stevia, to oats and chia seeds.  We also bought spices sold in bulk so we refilled empty spice jars, and re-labeled others for new spices! You don’t need anything fancy to make the labels…only card-stock, pen and tape…and voila!

JAR LABELS DIYJAR LABELS DIY  JAR LABELS DIYJAR LABELS DIY

Here are some good tips on what a good New Year Cleaning might be deserving of.

1. Kitchen: Clean all the cabinets inside and out, above and below…. and give away any unused cooking items. Our street-found iron pan, an old recipe book, a coffee grinder and random containers were among the items we left in a brown bag for people to pick and choose from at the entrance of our building.  Some people’s “trash”, other people’s treasures! Reduce, and someone else will most definitely reuse!

2. Bedroom and Studio: We cleaned and are almost finished reorganizing our studio and bedroom, yet one really important aspect of the process was to get rid of (and RECYCLE of course) all old paperwork that only took up space. Sometimes little mementos are nice to keep, and we do so in a small box in our bedroom where later on in they year they will probably be compiled into a scrapbook. Other papers/old pictures/brochures/receipts and such are in the “out” pile. It might seem crazy, but the house feels lighter without these items cluttering everywhere.

environmentally friendly cleaning product

3. Clean clean clean: And I mean clean….everything. I even vacuumed inside the stove stop where my hand and sponge couldn’t work. The best part of this is that you DO NOT NEED any harsh chemical products to have a clean home. We used our trusted Vinegar + Water + Peppermint Oil concoction for every surface. Works like a charm, and it smells nice too.  For the very touch stains, grease grime and soap scum, we use our trusted Bon Ami cleaner. It only has 5 ingredients including limestone, feldspar and baking soda derived from sustainable resources that won’t harm our earth!

Now our home feels lighter with better energy to start a new year. A few good prayers with incense and candles burning will add the perfect touch to the amazing energy that circles our home….

From our clean home, we wish you all a very Happy New Year!

Happy into the New Year!


Much love,

Mushpa y Mensa


Free 99 Cents Shelf

Sometimes we drool over the furniture on the street. Ok, correction. I drool over the furniture on the street and Mushpa tries to convince me not to bring trash into our home, and be a bit more…what shall we say, selective?

When we have more space, we will be bringing in all sorts of furniture to re-vamp and re-furbish, and potentially sell in our shop as well! This goes back to our idea of making things “from scratch”. On our 100th Blog Post we tried to explain our approach to doing things from now on. If we have the tools to be able to make it, then why not try to do it ourselves? Here is a perfect example.

reburbished furniture DIY

This is one of the pieces we found a block down from our home. We decided that if it was still there when we came back from our walk, that we would take it in.

reburbished furniture DIY

We needed storage, and we got some for free! With a few left-over spray paint cans, we painted it and now it looks fantabulous on our studio!

diy refurbisehd shelf

Thank you Mushpa for this one!

: )

-Mensa

More Name Cards!

At the Mushpa y Mensa studio making more name cards!

image

We are still making them by hand and each one will be unique like the other. This time we are making the process much more efficient so we can spend less hours making them (at least five hours each set before) and spend more time, as Mushpa would say, crafting other amazing art!

With love,

Mensa

Health Care 101… The New Obama Care Explained

Recently I’ve been looking into insurance, and understanding this new health care reform. Not being insured by a workplace, being self-employed and having one more year to be covered under my parent’s insurance, it is time that we get this new “Obama Care” straight.

Positives? We actually might have some sort of resemblance to decent (or almost barely there) health coverage in the Untied States. We are not to Canada’s or European standards, but we have to admit that for the country where we live in, where $$$ is power, this is a breath of fresh air.

Here is a small video that shows in 4 minutes how this new Affordable Health Care Act, will function.


[youtube=http://www.youtube.com/watch?v=JZkk6ueZt-U]


Negatives? YES! It is still not UNIVERSAL HEALTH COVERAGE, by the people for the people. We will still run insurance through these huge corporations, and they will still be making profits on human health, and lives. The basis for all this system is STILL profit. Insurance companies will be able to control the market place, “The Exchange”, just like all other market places, are operated by economic incentives, and insurance companies will raise premiums if they find that they are not making business. 31 million new covered?…by insurance companies.

I am still a little fuzzy about this reform, but why should it be clear? It does not seem to be straight forward, and it is only a bandage to the sickness that health coverage is in this country. It is like trying to fight cancer with cough medicine and aspirin. It might get rid of the pain for an hour or two, but the sickness still grows.

Let’s hope that 2014 brings on positive results, and more awareness on what actually needs to be done….FIND A REAL CURE!

Here’s another video that explains further this new law.


[youtube=http://www.youtube.com/watch?v=vmdbllWOOzs&feature=c4-overview-vl&list=PLBfqBziFkXIfmUHxQ0teDRppDa-VctX7c]


Frustrated but always caring,

Mensa

Mini-Sewing….A Teddy Bear From Scratch

I went to visit my family this week in VA, and of course there had to be craft time with my small siblings. What better thing to do than sew a stuffed animal with Isabela’s mini-sewing machine!

diy kids sewing patterns

It’s no industrial serger, nor does it even come close to stitching zigzag or reverse stitches….but it gets the job done! It was actually trickier to figure out that my own machine! After getting to know it though, Isabela, Abuela and the rest of the crew (aka Juan Lorenzo) sat around the dinning room table learning step by step how to make a little bear.

Steps we took.

1. Isabela sketched out a simple drawing, including the fabric that she would use for the body, tummy, ears and face or her bear.

2. We drew a simple pattern for the bear and she cut it out and pinned it to the fabric. She cut the fabric and began to pin the pieces together.

diy kids sewing

3. We found some old clothes, y la Abuela helped us cut out pieces of scrap fabric to use as stuffing for the bear. We also heard stories of la Abuela’s first sewing machine, which was operated by foot, and later adapted to sew with a small motor inside. : )

diy kids sewing

Then the sewing began….

It got a little tricky at times, but Isabela got the hang of it pretty quickly.

kids sewing

4. Finally we found some nice smelling tea leaves to stuff in the bear to give it a nice smell, and she closed  and hand-stitched the body and head together. Y listo!

Isabela made a bear, and Juan Lorenzo filled the cushion with pins and “sewed a tomato!”

If you mold kids minds, and teach them how to make their own toys, dolls clothes and whatever else their minds come up with, you will be surprised with what they can do! I was definitely impressed.

: )

-Mensa a.k.a. “Memi”

I Say, Stay In Air!

EASY PEASY!!!

So a really easy and fast way to make a draft stopper for when you have the AC on and you don’t want it to leave the room in the summer, or you are stopping the chilli air from coming in into your warm home during the winter months.

Draft stopper DIY

Here’s whats up.

1. Find a long thin bag. Like a newspaper plastic bag. I got mine from staples where they stuff large prints in thin plastic bags. Fill it with rice and knot it/tape it on the ends.

DIY draft stopper

2. Measure around and trace a handmade pattern on a sturdy fabric that will not rip easily. I re-purposed fabric that I am using in my backpack project. A rectangle is straight forward and easy, so you won’t mess up.

DIY draft stopper

3. If you want, use a larger stitch (around 4) so you can flip it and see if it fits in your case. Once fitted, sew over the stitch with a smaller stitch and finish it off by sewing the ends and VOILA!

DIY draft stopper

Like I said…Easy peasy!

-Mensa

Funny Che

When I see advertisements like these, a couple of things happen…

1. I laugh-cringe which is not giving me any joy particularly, but rather has the same effect as when you see someone hurt themselves really bad in those funny home video shows….it sucks and it’s not funny, but the human being sometimes handles it with laughter.

2. I get angry, because this is not a joke. Holy shit, this is real.

3. And finally I get scared…because the “activists and revolutionaries” are getting 15% off the entire store, and they are buying it…….

Ironic and funny che

Let’s keep fighting against this surreal funny home video until the end.

Hasta la victoria siempre…

Mensa

Making some Organic Mayo….with Coconut Oil

We bought a jar of coconut oil at the super-market the other day.

It was a bit hard to find a good use for it because even after trying some recipes, it of course didn’t behave like the olive oil which we use regularly.

I did use it as a hair mask, which was nice, but there was still a lot left on the jar….

So out came the idea to make Mayo with coconut oil. I looked up some recipes and it is totally possible and doable.

homemade coconut oil mayo

We used…..

  • 1 whole egg
  • 2 egg yolks
  • 1 tablespoon of fancy mustard
  • 1/2 a lemon’s juicy juice
  • a good pinch of salt
  • some pepper
  • 1/2 cup of Organic Coconut Oil
  • 1/2 cup of nice Extra Virgin Olive Oil

Disclaimer.… if this is your first time making mayo (like it was mine), be careful and do it EXACTLY as the instructions tell you… After you learn, then you can experiment. I  should have done so…


homemade coconut oil mayo

Do the following:

  • Mix your two oils together.
  • In a food processor, blender or bowl (if you are hand whipping with a whisk grandma-style) mix the eggs, yolks, mustard, lemon juice and condiments.
  • After all is nice and even start adding DROPS of oil to your mixture and continue the blending and whisking process. *** this is where I messed up***…If you add the oil too fast, the mixture will curdle and you’ll end up with oily egg juice… So sad.
  • Keep adding drops until it turns a lighter color…you will be able to tell if they start mixing well.
  • SLOWLY add little streams of oil and continue to blend…and just keep doing it slowly, oh so patiently…
  • After you are almost done with the oil (about 1/4 cup left) you can speed it up a bit if using a blender, and add the rest of the oil. It should start to become a heavier mixture….continue on until its silky smooth.
  • Let it set for 30 minutes in the fridge.

homemade coconut oil mayo013-06-25 12.09.14

*** IF YOU MESS UP***

I saw many posts and recipes say how you could not save your mixture if it curdled….NOT TRUE!  You can mess up and still have delicious mayo!

Since I had done it the first time in the blender and messed up, I decided to hand-whip it.

homemade coconut oil mayo

I added another egg yolk in a bowl and whipped it….and to that base I started to add the droplets of the curdled mix slowly, whipping it by hand. I followed the instructions clearly this time, and poured the messed up mixture in without having to throw it away! And it worked!

FANTABULOUS Home-made, coconut oil mayonnaise.

Since it’s home-made, with NO preservatives and whack ingredients, it only keeps in the fridge for about two weeks or less….but its worth it!

YUMMMM……

-Mensa

Out with the Old…In with the Re-vamped!

So my backpack was on its last strides… I have had it for seven years and it has served me well. It had been to many places around the world, including little towns in Italy, many Christmases in Ecuador, and it carried everything from heavy college books, community organizing flyers and papers as well as our regular weekly groceries. She was definitely a trooper.

So now I need a new backpack…. And what better way to keep it real than to bust one out yourself! So instead of buying a bag, I’ve decided that I will make it! Not from scratch, BUT I will re-vamp a small bag I had,. I’ll add  a couple of pockets, new heavy duty straps, a new flap with velcro….all done with my little hands!

So far it’s been a challenge. I didn’t think it would take so long….but it is not as complicated as it seems.

I had the foundation….

DIY Backpack

It’s a backpack with “ugly grandma fabric” but I think it is still very cute. I exchanged it with my sister in a clothes swap. It had a funny zipper an the straps were broken down from so much use.

DIY Backpack

I measured everything and sketched out a drawing of what it would look like with approximate measures.

The seam-ripper was my best friend for a couple of hours….while I un-did the previous straps, the zippers and the lining in order to have full access and revamp all the necessary details.

DIY Backpack

Since I had the foundation, I cut out patterns for the POCKETS, the FLAP, and the STRAPS. I didn’t use an offical pattern for the pocket or flaps, and I instead free handed the drawing making little updates as I moved along! I did use a pattern online for the straps through, and drew with the measurements given the two straps using newspaper.

DIY Backpack

I cut out all the main pieces and placed them with pins to see what it would look like…. it’s resembling something fancy now!

DIY Backpack

Using some bias tape, and an old pillow case for the lining, I finished the main flap, and the small pockets…. and so far its looking good.

This is the first update, but I will post the finished product once I am done this week.

Mushpa and myself have been having conversations about a bigger and better project in relation to this backpack. We have been asking ourselves…. Why not make it?

If I need a backpack….and we have the capable hands and tools to make it ourselves, then why not make it!?

It makes sense, right?

Now on to the finishing this beauty….

Until next time!

-Mensa