Category Archives: sewing

Mini-Sewing….A Teddy Bear From Scratch

I went to visit my family this week in VA, and of course there had to be craft time with my small siblings. What better thing to do than sew a stuffed animal with Isabela’s mini-sewing machine!

diy kids sewing patterns

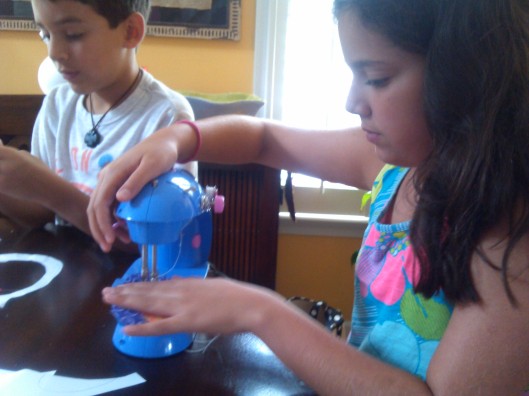
It’s no industrial serger, nor does it even come close to stitching zigzag or reverse stitches….but it gets the job done! It was actually trickier to figure out that my own machine! After getting to know it though, Isabela, Abuela and the rest of the crew (aka Juan Lorenzo) sat around the dinning room table learning step by step how to make a little bear.

Steps we took.

1. Isabela sketched out a simple drawing, including the fabric that she would use for the body, tummy, ears and face or her bear.

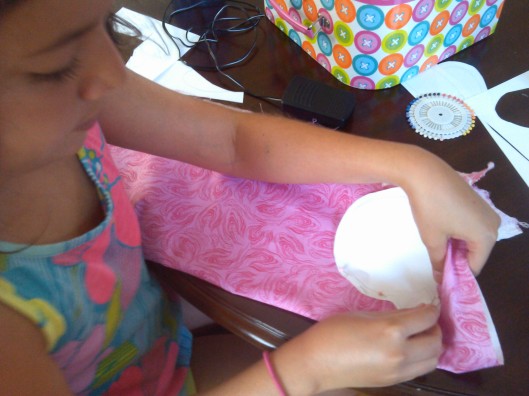
2. We drew a simple pattern for the bear and she cut it out and pinned it to the fabric. She cut the fabric and began to pin the pieces together.

diy kids sewing

3. We found some old clothes, y la Abuela helped us cut out pieces of scrap fabric to use as stuffing for the bear. We also heard stories of la Abuela’s first sewing machine, which was operated by foot, and later adapted to sew with a small motor inside. : )

diy kids sewing

Then the sewing began….

It got a little tricky at times, but Isabela got the hang of it pretty quickly.

kids sewing

4. Finally we found some nice smelling tea leaves to stuff in the bear to give it a nice smell, and she closed  and hand-stitched the body and head together. Y listo!

Isabela made a bear, and Juan Lorenzo filled the cushion with pins and “sewed a tomato!”

If you mold kids minds, and teach them how to make their own toys, dolls clothes and whatever else their minds come up with, you will be surprised with what they can do! I was definitely impressed.

: )

-Mensa a.k.a. “Memi”

I Say, Stay In Air!

EASY PEASY!!!

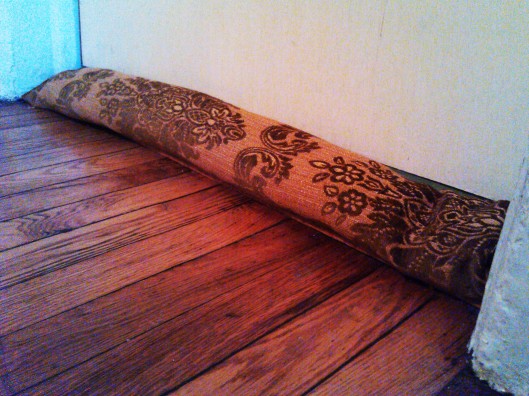
So a really easy and fast way to make a draft stopper for when you have the AC on and you don’t want it to leave the room in the summer, or you are stopping the chilli air from coming in into your warm home during the winter months.

Draft stopper DIY

Here’s whats up.

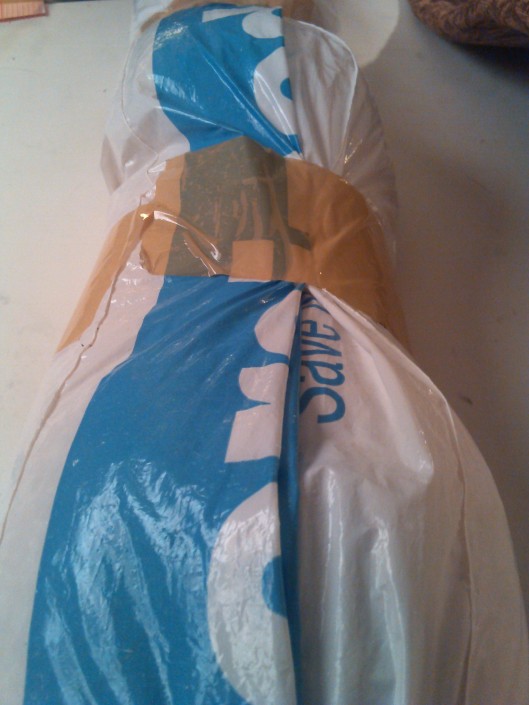
1. Find a long thin bag. Like a newspaper plastic bag. I got mine from staples where they stuff large prints in thin plastic bags. Fill it with rice and knot it/tape it on the ends.

DIY draft stopper

2. Measure around and trace a handmade pattern on a sturdy fabric that will not rip easily. I re-purposed fabric that I am using in my backpack project. A rectangle is straight forward and easy, so you won’t mess up.

DIY draft stopper

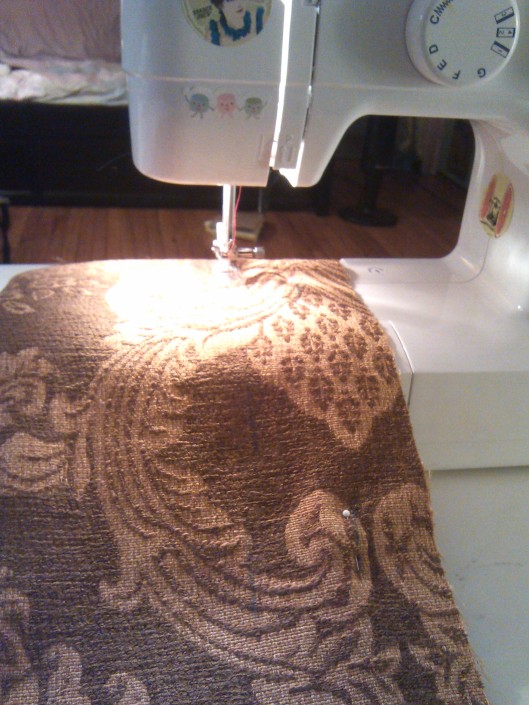
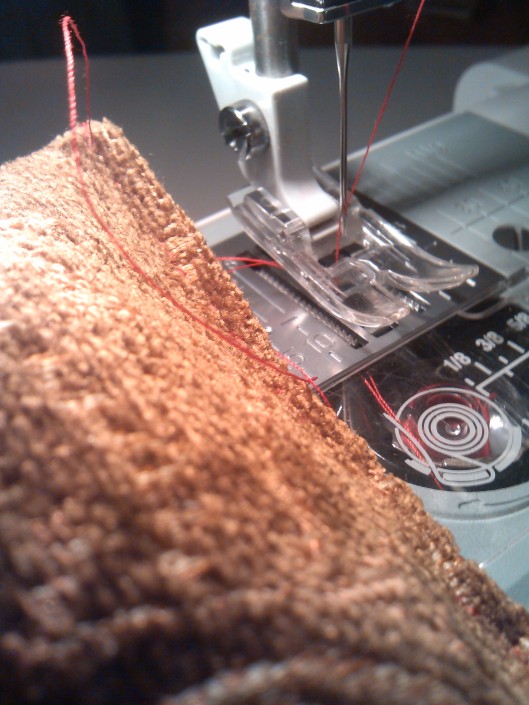
3. If you want, use a larger stitch (around 4) so you can flip it and see if it fits in your case. Once fitted, sew over the stitch with a smaller stitch and finish it off by sewing the ends and VOILA!

DIY draft stopper

Like I said…Easy peasy!

-Mensa

Out with the Old…In with the Re-vamped!

So my backpack was on its last strides… I have had it for seven years and it has served me well. It had been to many places around the world, including little towns in Italy, many Christmases in Ecuador, and it carried everything from heavy college books, community organizing flyers and papers as well as our regular weekly groceries. She was definitely a trooper.

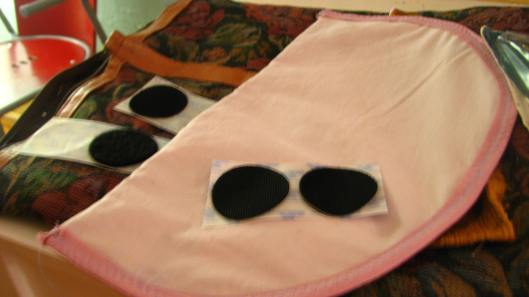
So now I need a new backpack…. And what better way to keep it real than to bust one out yourself! So instead of buying a bag, I’ve decided that I will make it! Not from scratch, BUT I will re-vamp a small bag I had,. I’ll add  a couple of pockets, new heavy duty straps, a new flap with velcro….all done with my little hands!

So far it’s been a challenge. I didn’t think it would take so long….but it is not as complicated as it seems.

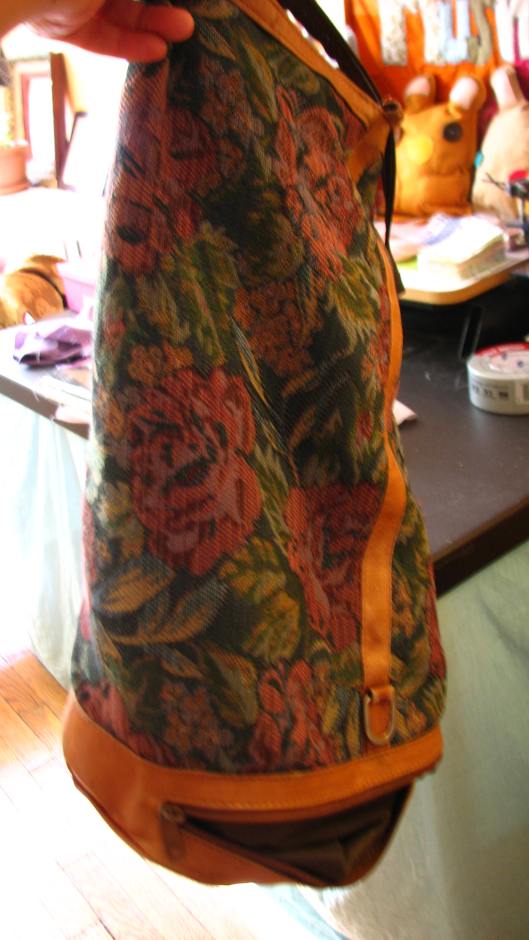
I had the foundation….

DIY Backpack

It’s a backpack with “ugly grandma fabric” but I think it is still very cute. I exchanged it with my sister in a clothes swap. It had a funny zipper an the straps were broken down from so much use.

DIY Backpack

I measured everything and sketched out a drawing of what it would look like with approximate measures.

The seam-ripper was my best friend for a couple of hours….while I un-did the previous straps, the zippers and the lining in order to have full access and revamp all the necessary details.

DIY Backpack

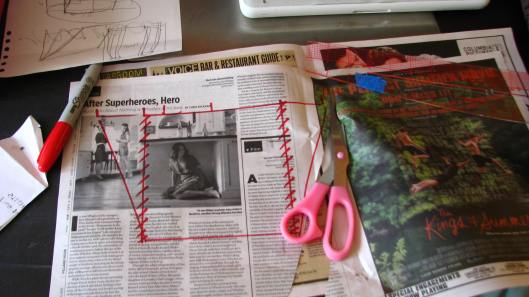
Since I had the foundation, I cut out patterns for the POCKETS, the FLAP, and the STRAPS. I didn’t use an offical pattern for the pocket or flaps, and I instead free handed the drawing making little updates as I moved along! I did use a pattern online for the straps through, and drew with the measurements given the two straps using newspaper.

DIY Backpack

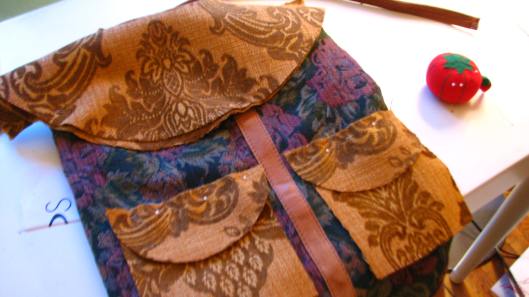
I cut out all the main pieces and placed them with pins to see what it would look like…. it’s resembling something fancy now!

DIY Backpack

Using some bias tape, and an old pillow case for the lining, I finished the main flap, and the small pockets…. and so far its looking good.

This is the first update, but I will post the finished product once I am done this week.

Mushpa and myself have been having conversations about a bigger and better project in relation to this backpack. We have been asking ourselves…. Why not make it?

If I need a backpack….and we have the capable hands and tools to make it ourselves, then why not make it!?

It makes sense, right?

Now on to the finishing this beauty….

Until next time!

-Mensa