I’ve been friends with my sewing machine for a bit now, and we have grown closer over the past year. I have kept her near me and loved her very much, but one thing is that I have not been very good about covering her. One reason is because I have the old (ugly) plastic cover that it came with.
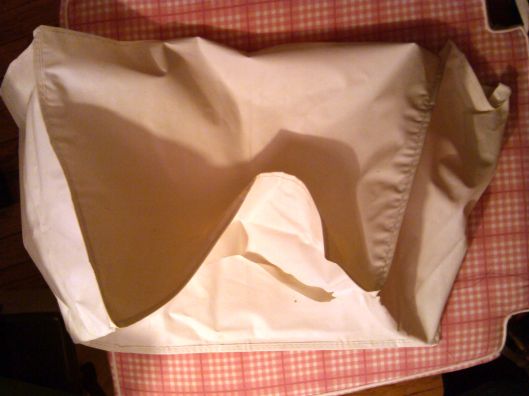
I got inspired and decided to make her a little outfit using refurbished material and gifted fabric! Now my sewing machine is not so cold, wont get so much dust, and actually looks pretty!
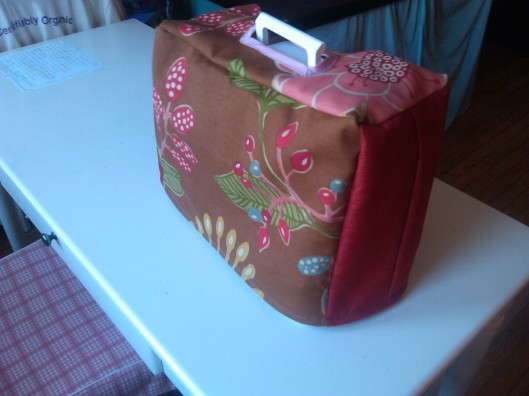
Tip: I used the old plastic cover to draft and cut out the pattern pieces to make the sewing machine cover. You don’t need a pattern as long as you have the old cover. If you are not afraid to go for it, you can just measure the height and width of your machine and make five rectangles to sew together!
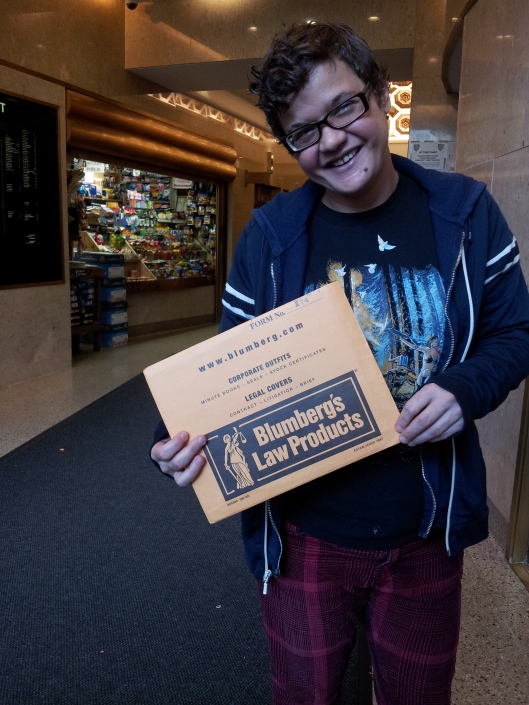
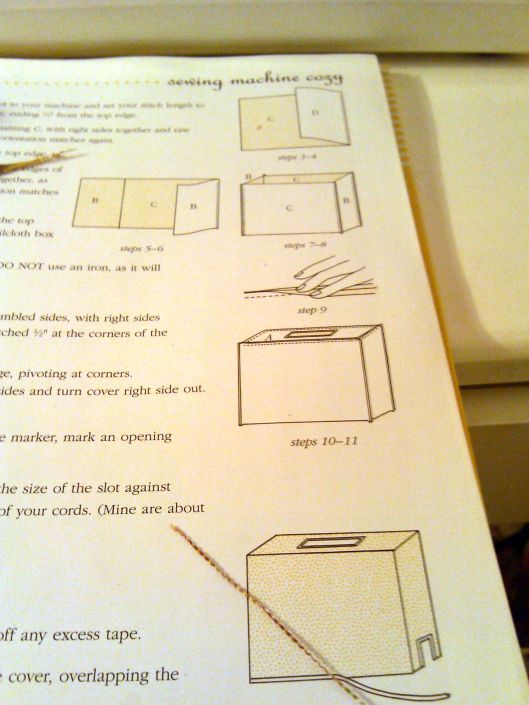
For this project, I also used as a guide this sewing book that I like very much, the Sew Everything Workshop: The Complete Step-by-Step Beginner’s Guide. It is written by Diana Rupp, and it is fabulous for people getting into the sewing world. It comes with patterns, instructions and lots of practical information about different fabrics and tips as well as historical facts and fun sewing projects.
This book was part of a gift from Mushpa, who not only included the book, but a class to sew a “Naughty Secretary Skirt” with Ms. Diana Rupp herself! If you live in NYC and want to practice some guided sewing, check out the Make Workshop for amazing classes of all types!
Tip: Get a sewing book. There are TONS out there. I have a couple that I use as reference all the time. I think it’s helpful for little details, how-to and random information. Any time I get stuck in a project, or need inspiration, I look at them. Also, if you can, take a sewing class. It really helps with understanding the process as a whole, and you get to hang with other sewing aficionados!
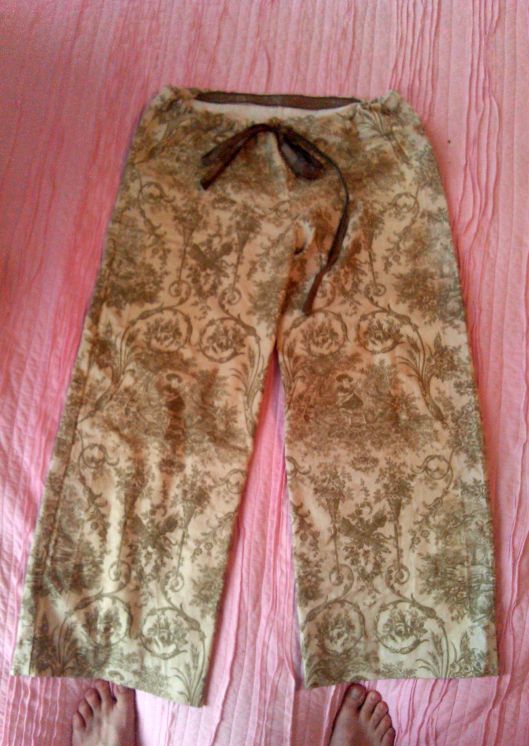 I also got inspired and made some new yoga pants as well using this book! With some risky adjustments to the pattern, I had just enough scrap fabric to make some new pants by refurbishing old curtains! Sound of Music anyone?
Fortunately the adjustments that I made to the pattern were fine, and I was able to cut the pieces just right!I thought the fabric would be OK to wear these pants out in public, but they ended up looking too pajama-ish! That’s OK though, because now I have some super fancy pajama pants!
Tip of the Universe: If you have almost enough fabric, but not quite enough, try hoping for the best when doing pattern adjustments! I literally visualized and prayed to the universe that the adjustments I made to the pattern would work… With a little faith, anything is possible!
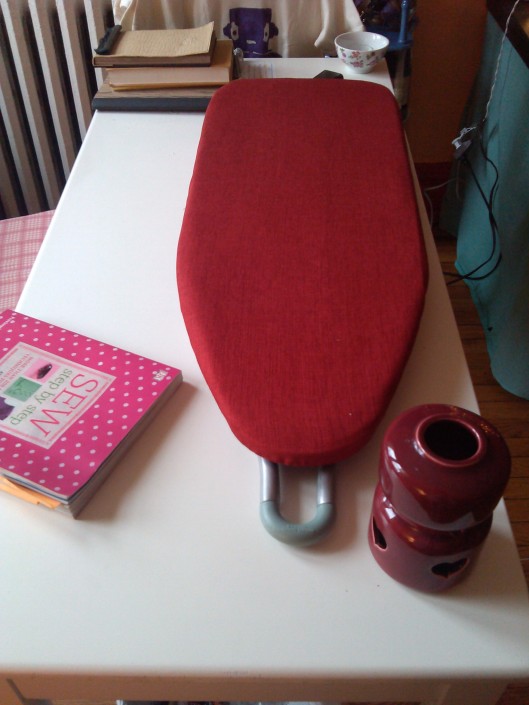
Finally, the last project for the house I sewed was our darling ironing board. The old cover was gross and old… This was a very easy project though. I pretty much traced a pattern around the ironing board and left a good 4 inches or so of seam allowance.
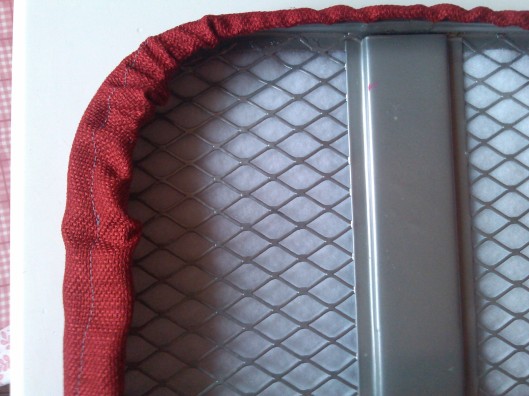
Then I folded the seam about an inch and sewed it down in order to leave a space for a cord to run through the seam, and left an inch wide opening to be able to pass the cord through. After attaching safety pins to the cord, I pushed the cord through the seam and covered the ironing board. Pull tight and knot it at the end! Not so bad huh?!
Updating our home, one sewing project at a time!
Much love,
-Mensa
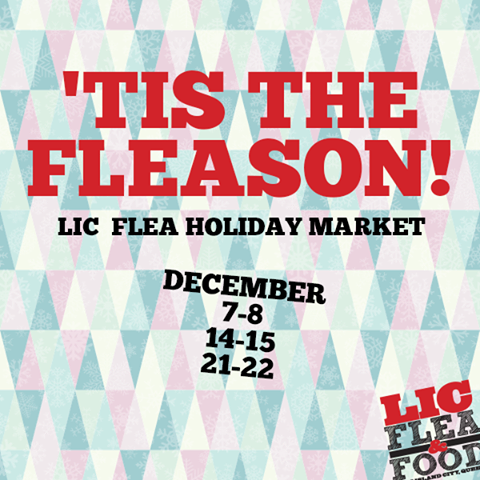
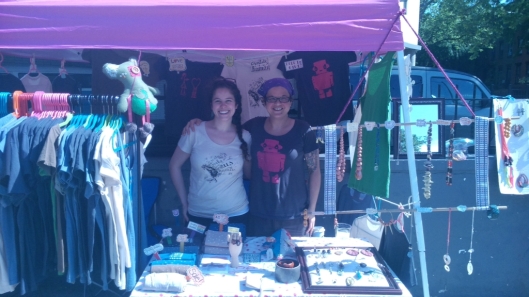 Guess what time it is??? Flea Market season!!! Oh snap, you mean you can check out our wares in person, hang with us, tell us all your deepest, darkest secrets and buy amazing art all under the gorgeous NYC sun? Yes, that’s exactly what I mean!
 Click here or any of the cute market photos in this entry to see where we will be at, when we are there and how cool it is going to be when you get there. We are even venturing out to that other world called Long Island in May, so if you live on the island and stay out of the city, you to will have the opportunity to chill with La Mushpa y La Mensa! Seriously. :]